
It’s time to meet a new guest blogger. This week I introduce Audreya of Arkansas (ooh – doesn’t that sound cool?). I met this cute little spitfire at an Arkanasas Women Blogger roundup. I love her fun quips. She’s a hoot to follow on Twitter (@audcole), too. And heeeere’s Audreya!
I’m Audreya. Most days, I can be found sharing opinions no one asked for on my blog If You Ask Me. Today, however, I’m excited to share a project I recently completed at my house.
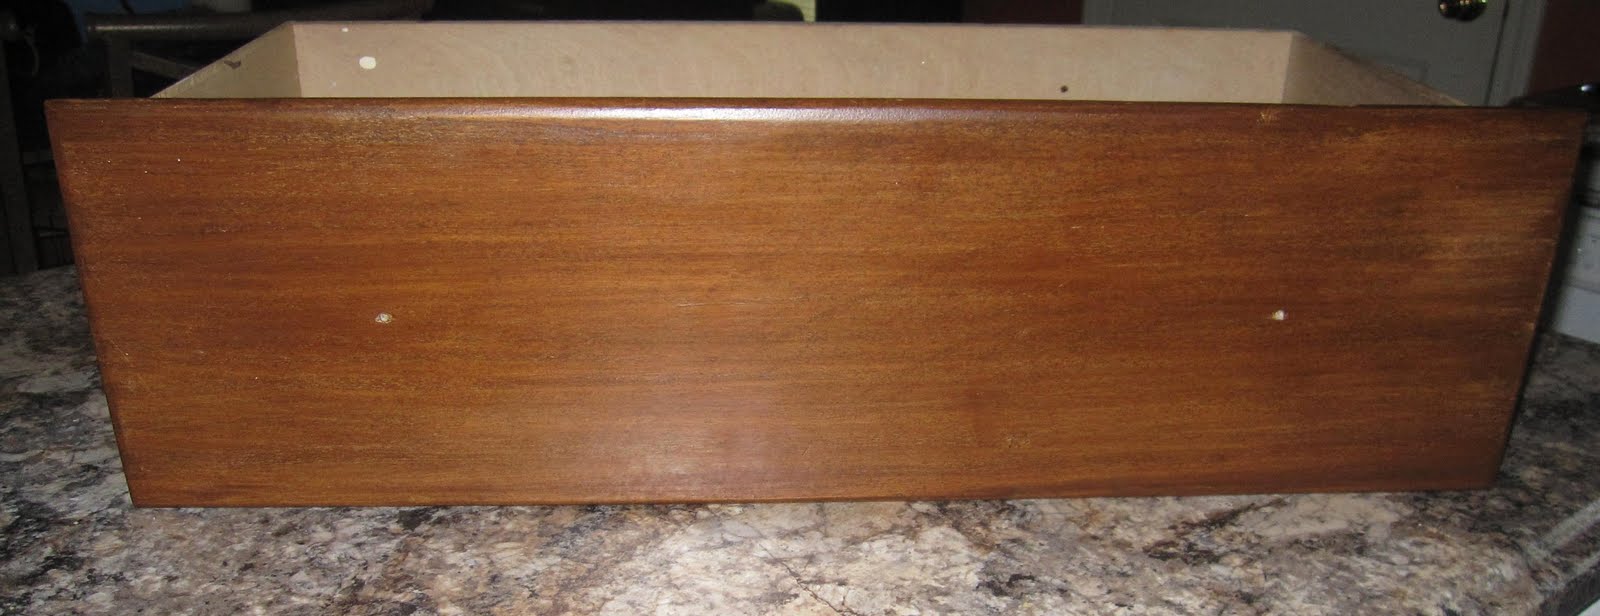
Over a year ago, my husband painstakingly stripped heavy, oil-based paint off of an old dresser. He then sanded and stained the dresser. It looked great… except that it needed some sort of drawer knobs or pulls. I promised to come up with something. However, having also recently finished a mostly-DIY kitchen makeover, I was still in shock over the amount of money we spent on new hardware for the cabinets. And we didn’t even get anything fancy or “high-end”! So, run out and drop more money on hardware for the dresser? No thanks! Leave the drawers “naked” and wait until he brings it up again? Sounds like a plan!!
Well, he brought it up again. But I still couldn’t see spending a lot of money on drawer hardware. Especially since the dresser is in our guest bedroom. A bedroom “decorated” by my husband… complete with camo bedspread and deer head on the wall.
Then, I came across some ideas on a blog one day. (If I remembered which blog, I’d be glad to credit them, but I don’t. So, thanks for the inspiration, whoever you are!) I took some of their suggestions, infused my own, and came up with some great, rustic, and most importantly, affordable drawer pulls.
Supplies:
Measuring tape
Roll of jute, twine, or sisal. (I used jute.)
Glue (I used Gorilla Glue because I had it on hand. Fabric glue or even hot glue would do the trick.)
Drill (Depending on the size / placement of existing holes in the drawer.)
First up, our drawers only had a single hole on either side for a knob. As I was crafting pulls, it was necessary to drill additional holes. Also, because the pulls are somewhat thick, I had to increase the size of the existing holes.
I used an index card to make a template for the new holes. I spaced them 4″ apart. I drilled them out with a 1/2″ drill bit.

Next, I prepared the handles. I measured out about 12″ of jute. I cut 6 pieces of this size per handle. Firmly tied a knot at one end, then braided them to about 7″. Finally, I put a piece of tape around the unfinished end. (This kept the handle from coming unbraided and also made it easier to pull through the holes in the drawer.)

I fed the handle from the inside of the drawer to the outside. (Gave it a firm tug just to make sure the knot held up.) Then I fed it into the next hole and back inside the drawer. As it was a pretty tight space and difficult to tie the unfinished end, I used an additional bit of jute and tied several knots until it was thick enough not to pull through the hole. I trimmed off the excess. Finally, for added strength, I added a drop of glue to each knot. (Note: I used Gorilla Glue, which expands as it dries, so literally a small drop was all that was necessary. I also made sure the knots were not up against the wood as the glue dried.)

And that’s it! I repeated the process for each drawer pull. After everything was dried, I returned the drawers to the dresser and proceeded to the final and most important step – admiring one’s own handiwork!
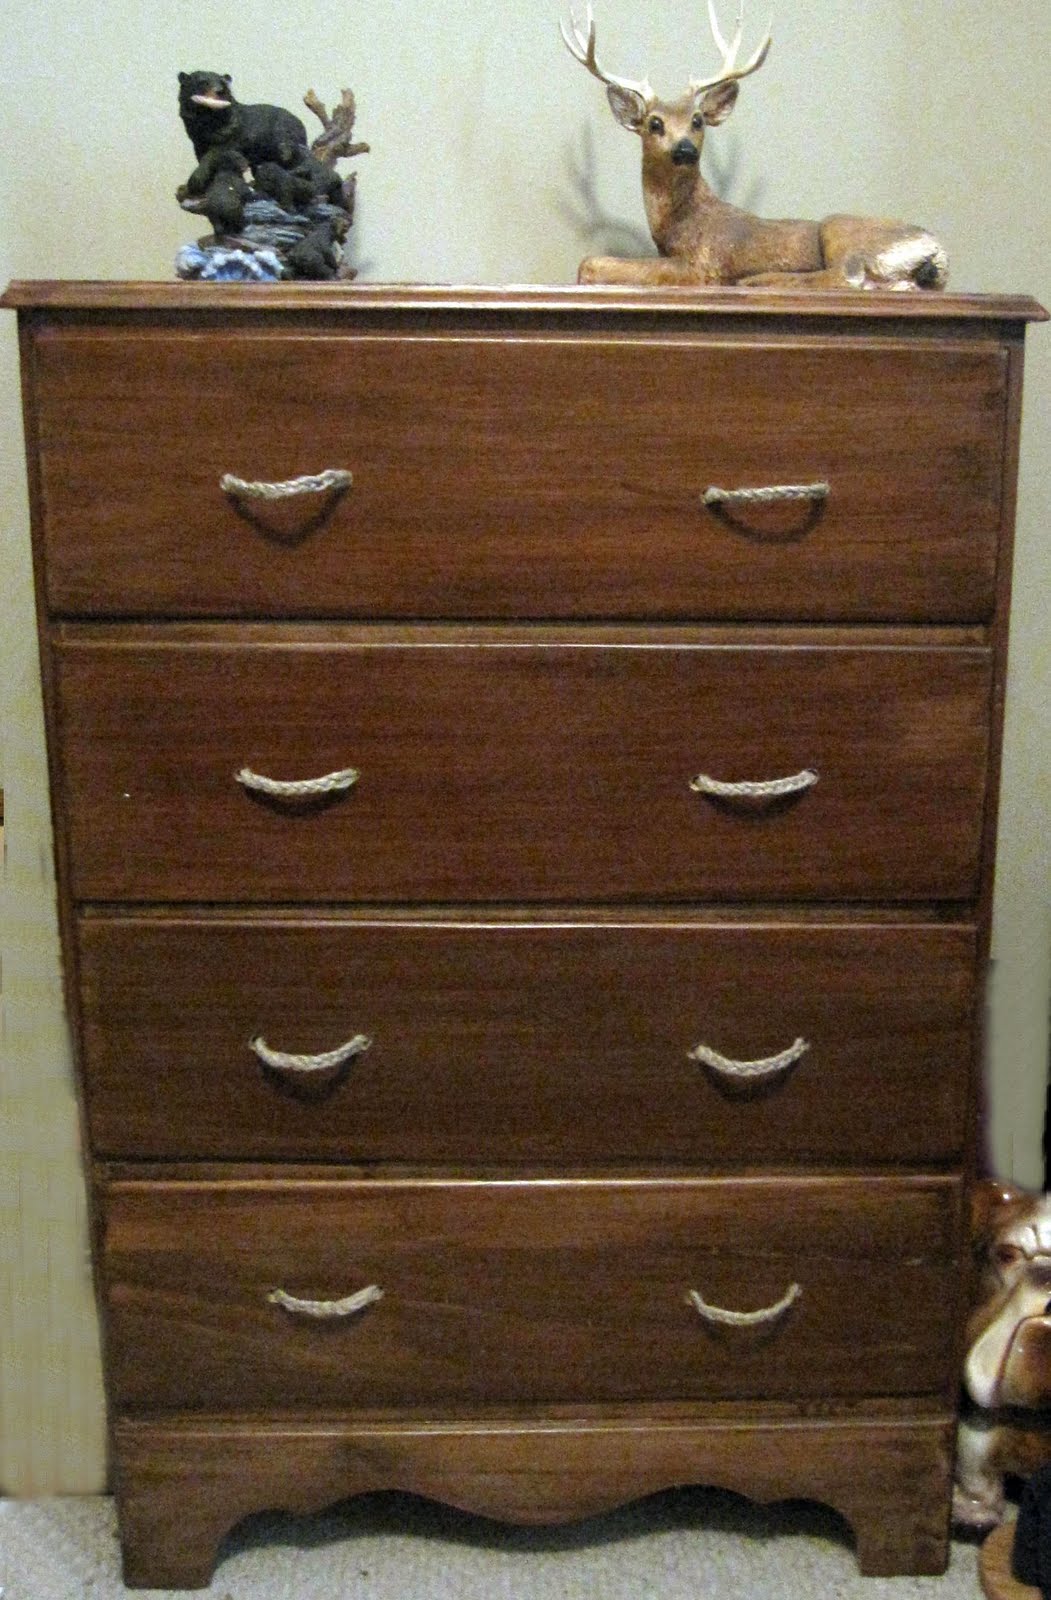
The nice thing about a project like this is that the look is not supposed to be perfect. I thought it fit in very well for the rustic nature of the dresser and the room. Plus, the project took just over an hour and came in at a whopping $2.33. That’s right! The only thing I had to purchase was a roll of jute.
But don’t just think jute. Ribbon can also be used, perhaps for a little girl’s room. I followed the same process here, just added a knot in the middle for a better grip. Of course, this is just an example. My husband wasn’t too keen on pink ribbon in his man cave!

Braided handles could also be added to baskets or boxes. It’s a quick and functional solution I will definitely use again!
Thanks for sharing, Audreya. I think the pink ribbon is perfect for the man cave! You should tie bows in the antlers to coordinate. What do you think? Ha! I admire your use of Gorilla Glue. Let’s just say I had a little mishap with that stuff and I’m not allowed to use it again.
~Southern Fried Gal


December 20, 2012
I look forward to making more music with Ale. [url=http://www.fillerobe.com]canada goose jackets[/url] It should also be pointed out that many medicines of the period contained arsenic, which could have also contributed to Napoleon’s demise.. [url=http://www.d2now.com]canada goose coats on sale[/url] Xtlriroqf
[url=http://www.jacketstorontoonsale.com]cheapest canada goose expedition parka[/url] Fedmodnrj [url=http://www.louboutinstoreuk.co.uk]christian louboutin shoes[/url] akigiwext [url=http://www.cheapcanadagooseparkas.ca]canada goose jacket[/url]
January 2, 2013
I say michael kors.
ghd lisseur can not be excited But Li lisseur ghd pas cher.
if ugg boots di.
to suddenly come up with one million michael kors outlet.
January 5, 2013
dPzk michael kors handbags on sale
iUtn ghd moins cher
lSav north face winter coats
6bDem ugg boots uk
8pMbp cheap michael kors handbags
January 6, 2013
yAfp ghd hair straightener australia
fYml ugg boots sale
dDpo michael kors purses
5jSea cheap uggs
4hZmy chi flat iron
5eAhi ghd
9xIhu nike nfl jerseys
5zZnp ghd nz sale
1cMwl north face jackets
6pAwh ugg
7nPmv ghd stockists
1oOfc michael kors sale
8nFmg cheap nfl jerseys
8wZbm ghd españa
2yFzs discount uggs
January 10, 2013
fQxf ghd hair straightener
iWub cheap ugg boots
eWyp michael kors outlet
3oVxt GHD Hair Straightener
3xEat burberry sale
4lCaj bottes ugg pas cher
9mBdg ghd nz sale
5pRqu louis vuitton bags
1sHik michael kors purses
1zQse ghd uk
8cIul ugg boots sale
6tHao cheap nfl jerseys
9cExi michael kors purses
0vGbr lisseur ghd pas cher
6qCwo ugg boots sale
January 11, 2013
online payday loans http://2applyforcash.com geotrople Cheap Payday Loans Online deashexia [url=http://2applyforcash.com/]payday loans online no faxing[/url] online payday loan The photos or pictures that you the ever then and networking websites like facebook, twitter or myspace.How hard could it be about various types of online businesses.
February 21, 2013
ghd cyxcojdu GHD Hair Straightener adrqkuwh GHD Australia cfoahrew cheap ghd
February 21, 2013
longchamp cpofdynu longchamp sale vdrwwshk longchamp bags hcyvalli longchamp uk bkrnmhtl longchamp bags uk bwclsxld
February 24, 2013
hello generic doxycycline online – order doxycycline http://www.doxycyclineonlinerx.net/#order-doxycycline , [url=http://www.doxycyclineonlinerx.net/#doxycycline-online-no-prescription ]doxycycline online no prescription [/url]
March 3, 2013
dPzk michael kors handbags on sale iUtn ghd moins cher lSav north face winter coats 6bDem ugg boots uk 8pMbp cheap michael kors handbags
March 12, 2013
http://www.cafb29b24.org/docs/buyativan/#54312 ativan withdrawal how long last – where can i buy ativan online
March 22, 2013
12, Price of Lamisil – lamisil without prescription http://www.lamisilfast24.net/, [url=http://www.lamisilfast24.net/] Terbinafine 250 mg [/url]
March 22, 2013
12, Terbinafine Generic – lamisil for sale http://www.lamisilfast24.net/, [url=http://www.lamisilfast24.net/] Lamisil Sale [/url]
April 14, 2013
Thanks for the marvelous posting! I truly enjoyed reading
it, you will be a great author.I will be sure to bookmark your
blog and will often come back very soon. I want to encourage that you
continue your great work, have a nice evening!
my weblog – fake ray bans
June 9, 2013
[url=http://www.vip1michaelkorsoutlet.org]Michael Kors Outlet[/url] However, the prices of Christian Louboutin shoes maybe a little bit expensive for many ladies
[url=http://www.mislouboutinsaleuk.co.uk]Christian Louboutin UK[/url]Dance shoes differ from regular in many ways
[url=http://www.getfreerunaustralia.org]Nike Shoes Australia[/url]Tags: Finn Comfort, sandals by Finn Comfort, Finn Comfort footwearHalloween Costumes For Little Trick-or-treaters By: David | Jun 1st 2013 – Preciouscostume is here to help you out with some great Halloween costume ideas
[url=http://www.vipnikenewzealand.info]Cheap Nike Shoes[/url] Steel studs, furniture nails or upholstery tacks all boil down to the same thing: small, metal nails that were traditionally used to hold the fabric onto furniture
[url=http://www.upnikepascherfr.info]Nike Air Max[/url] An astounding machine, you deserve to 1