 Please help me welcome Nancy from Crafter’s Window to this week’s Time Out Tuesday. She has a lovely project to share with us. I also think her freebie find will make you a little green with envy – or at least it did me – ha! Without further ado, here’s Nancy…
My name is Nancy and I am from Crafter’s Window. I am a wife to a, now, retired Navy man and a mom to 3 children, ages 22,11, and 6. It wasn’t until this point of my life (I’m 44) that I have found that I love working with my hands. I’ll be honest, my mom owned a ceramic business while I was growing up and I did most of her finish painting for her craft shows. However, it was always for my mom and never thought of doing something with my hands was what would, ultimately, make me happy.
For those of you that know my blog, I have been planning a series on vintage windows and the many things that you can make with one. So, here is my first window that I have to add to my series that I actually created.
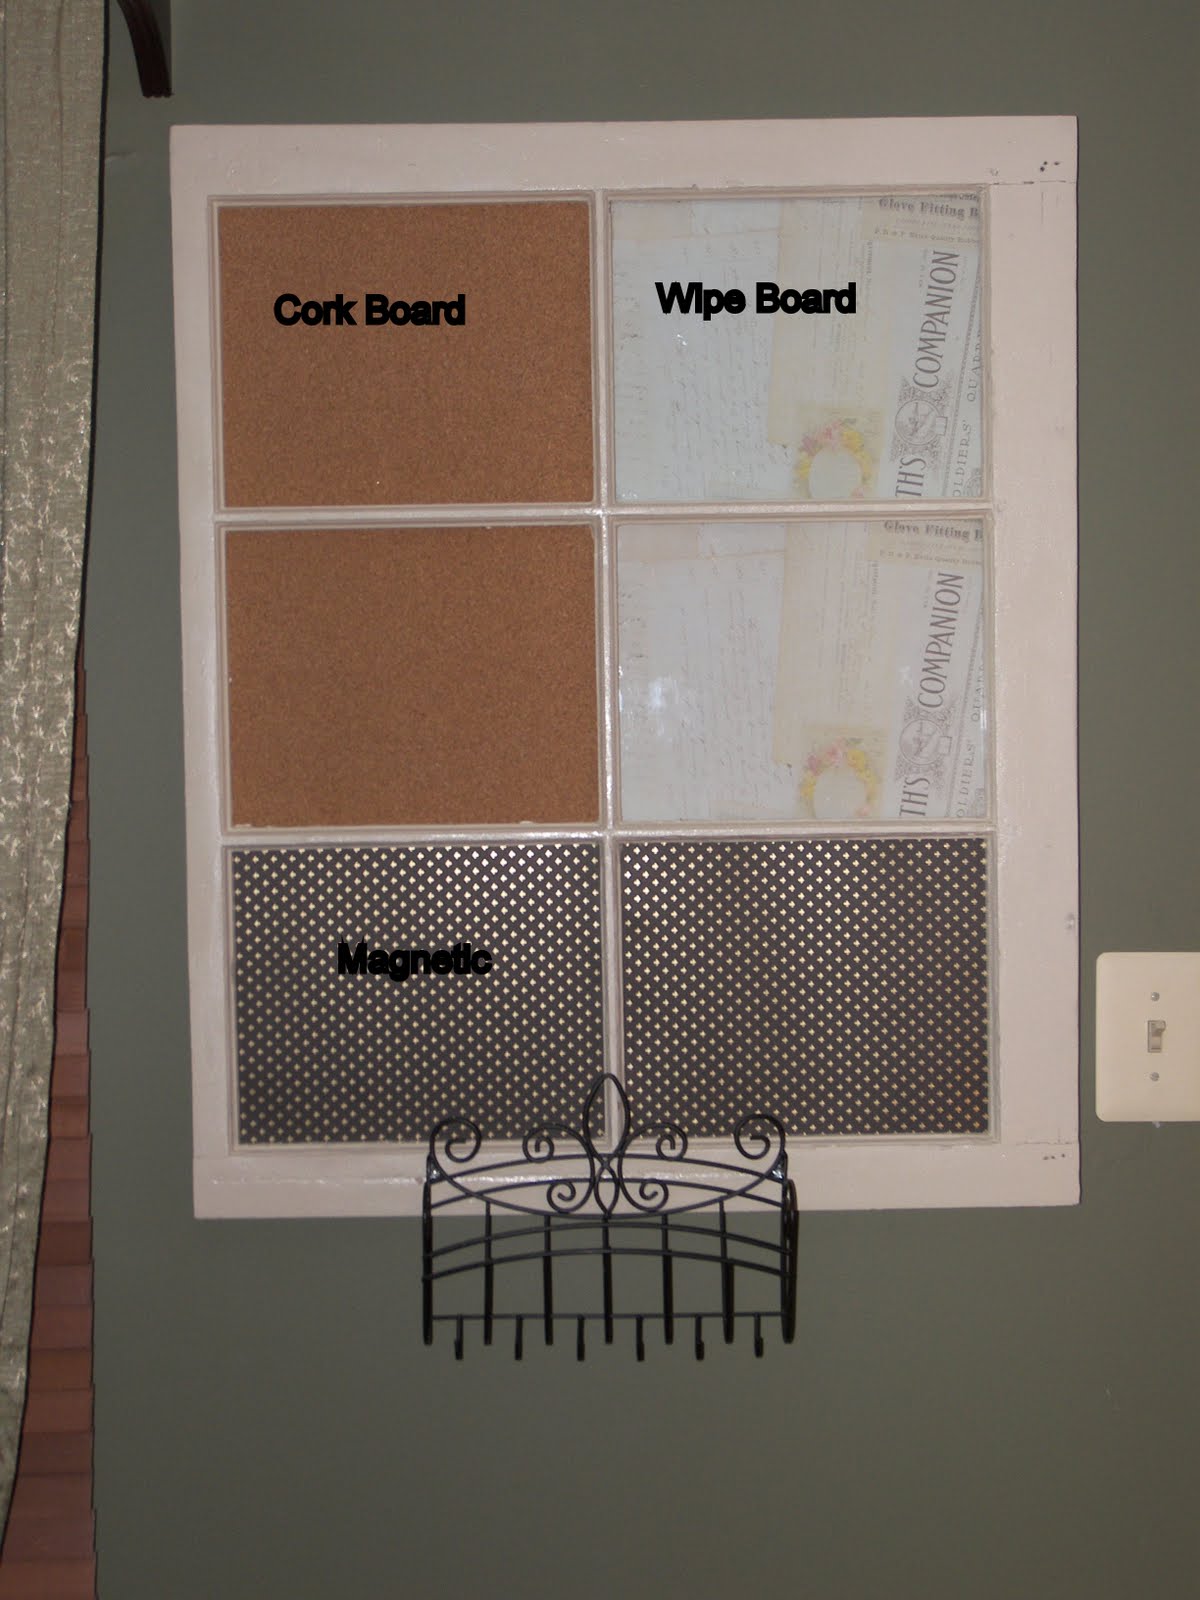 I already owned the mail/key thing and had it hanging where this family information board now hangs with it attached. I needed a central location for my family to find out where each other is, what is going on that night, or to find out if I can drive them anywhere. This will fill all those needs.
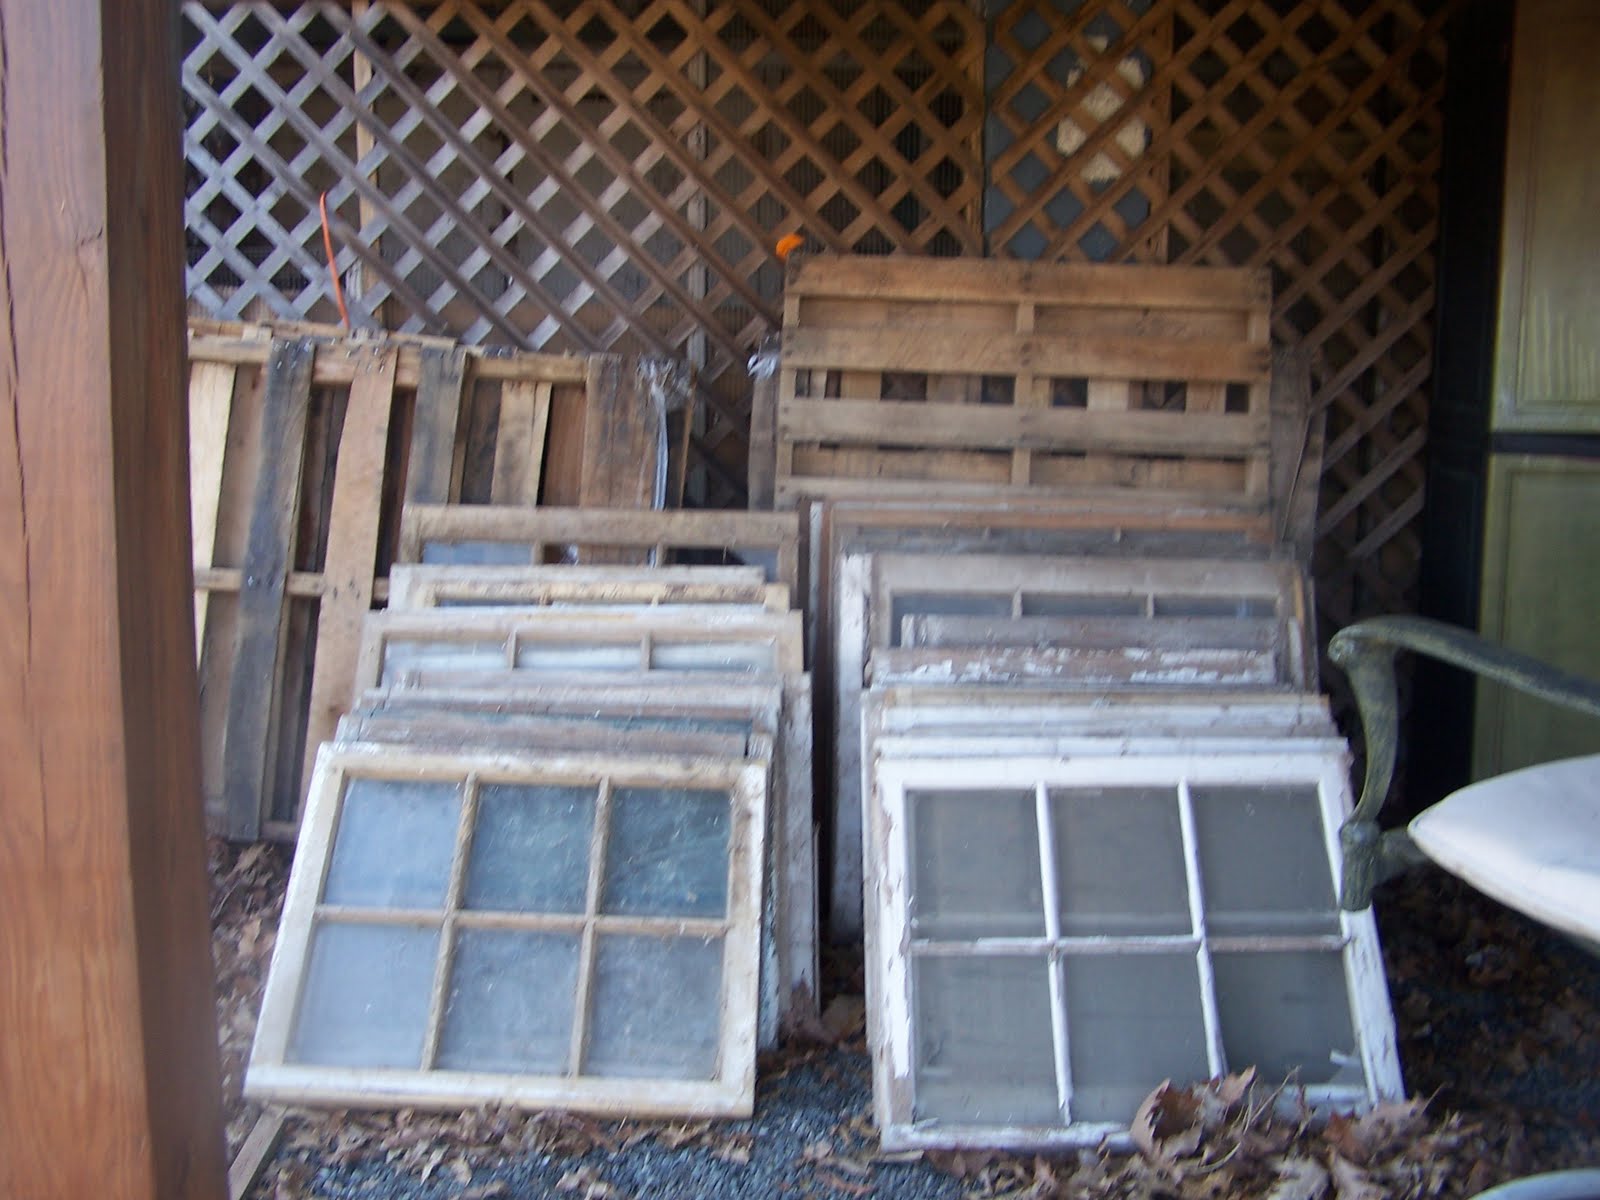
I started out with windows I obtained for free from a Craigslist posting. Just a hint all: When the post states to make offer, be honest. This posting stated he had over 40 windows that he wanted to get rid of and to make an offer. I was honest and responded that they require a lot of work to refurbish and that I would be happy to take them off his hands, but that I wouldn’t be willing to pay for them. I drove an hour to get them, but that was a very small price to pay for over 40 of these windows.
Well, OK, now onto how I did this.
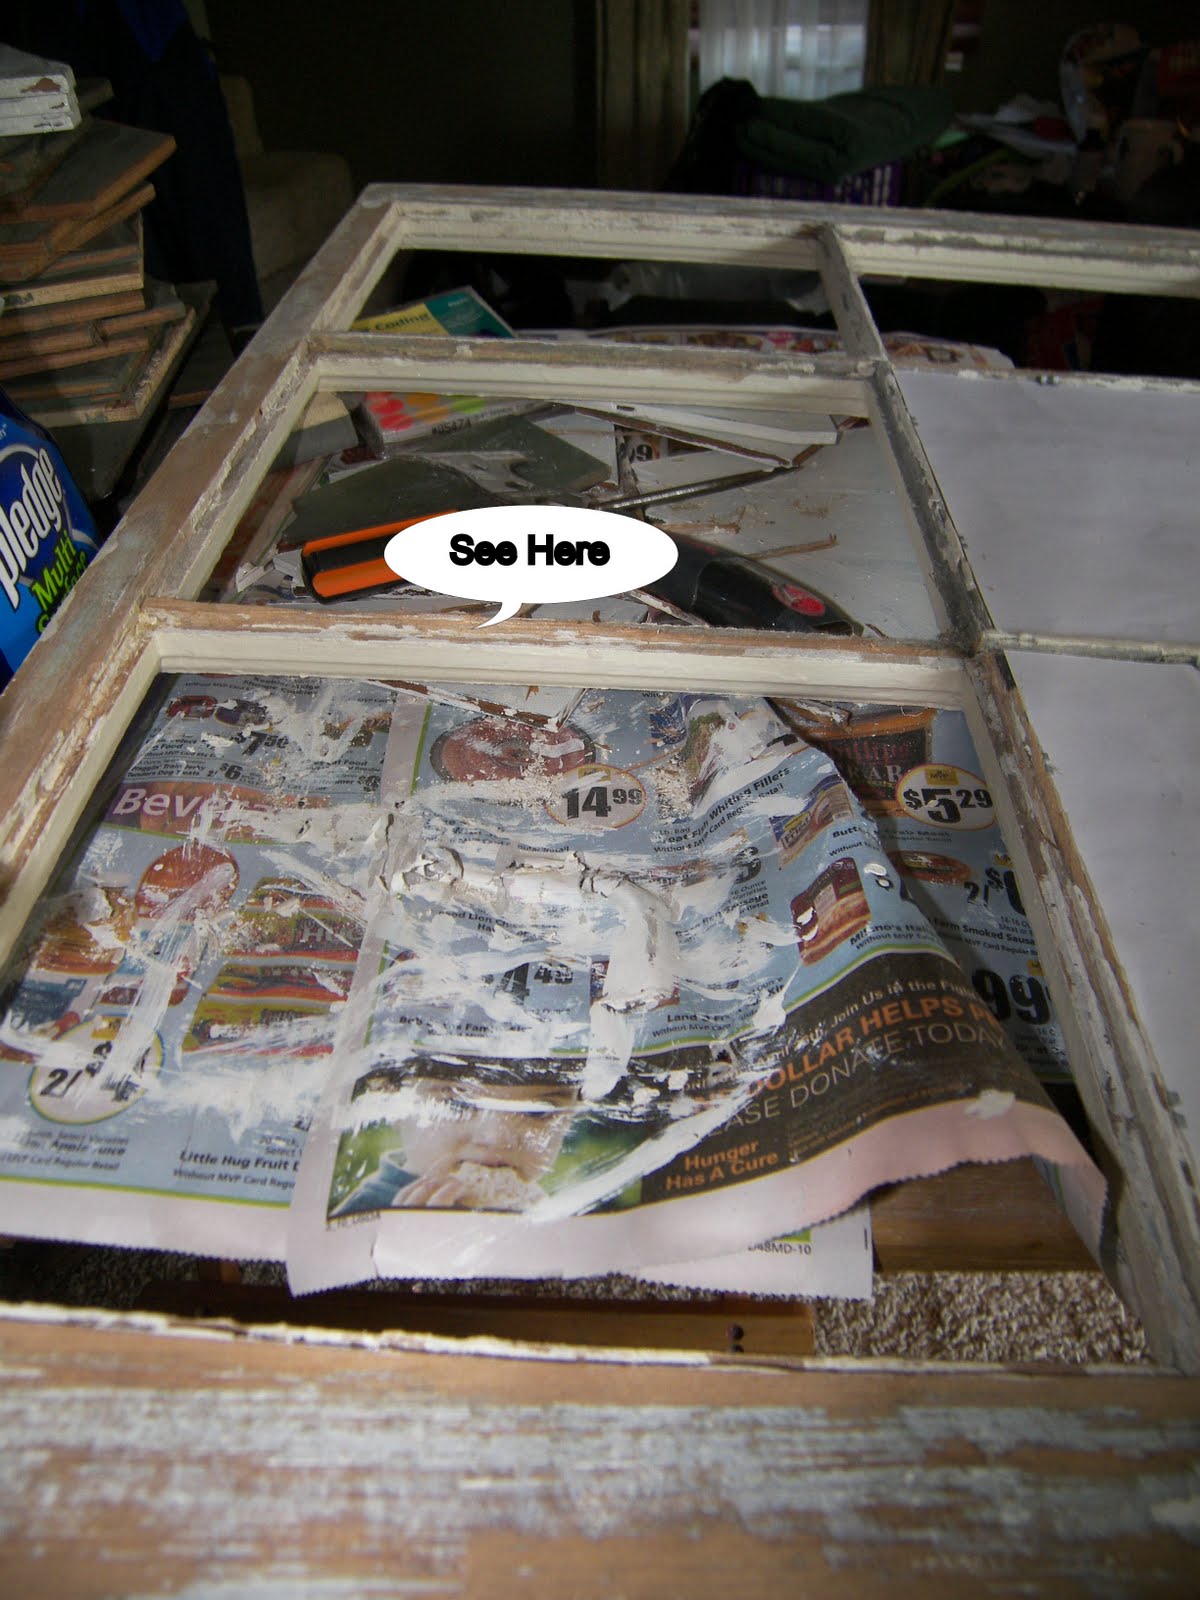
Step 1 – Clean the windows as best as you can with cleaner and paper towels.
Step 2 – Either clean the glass, if using, or remove, if not.
Step 3 – Sand the window as much as you can. I recommend wearing a dust mask for this as these windows most likely have lead base paint on them and you don’t need to be inhaling this. I used a palm sander for all my larger, flat areas and my Dremel with a sander attachment for around the actual window panes.
Step 4 – Paint – I chose to use spray paint on this window and it required about 3 coats. Still debating on if that was the best type of paint to use or not. Will keep you posted!
Now, at this point, you have to decide what you want to do with the window. I knew I wanted this window for this family message board. So, to accomplish that, these are the directions:
Wipe Board
I cleaned two of the original glass panes and put back in with a light scrap paper behind so that writing will show up clearly. Don’t mind my messy work space. This is a makeshift spot that I was using to paint another project earlier today.
 Cork Board
I thought it would be easier to have a piece of cork that went into two of the window panes rather than two separate pieces of cork in each pane. So, I removed the back of one of the cross sections. 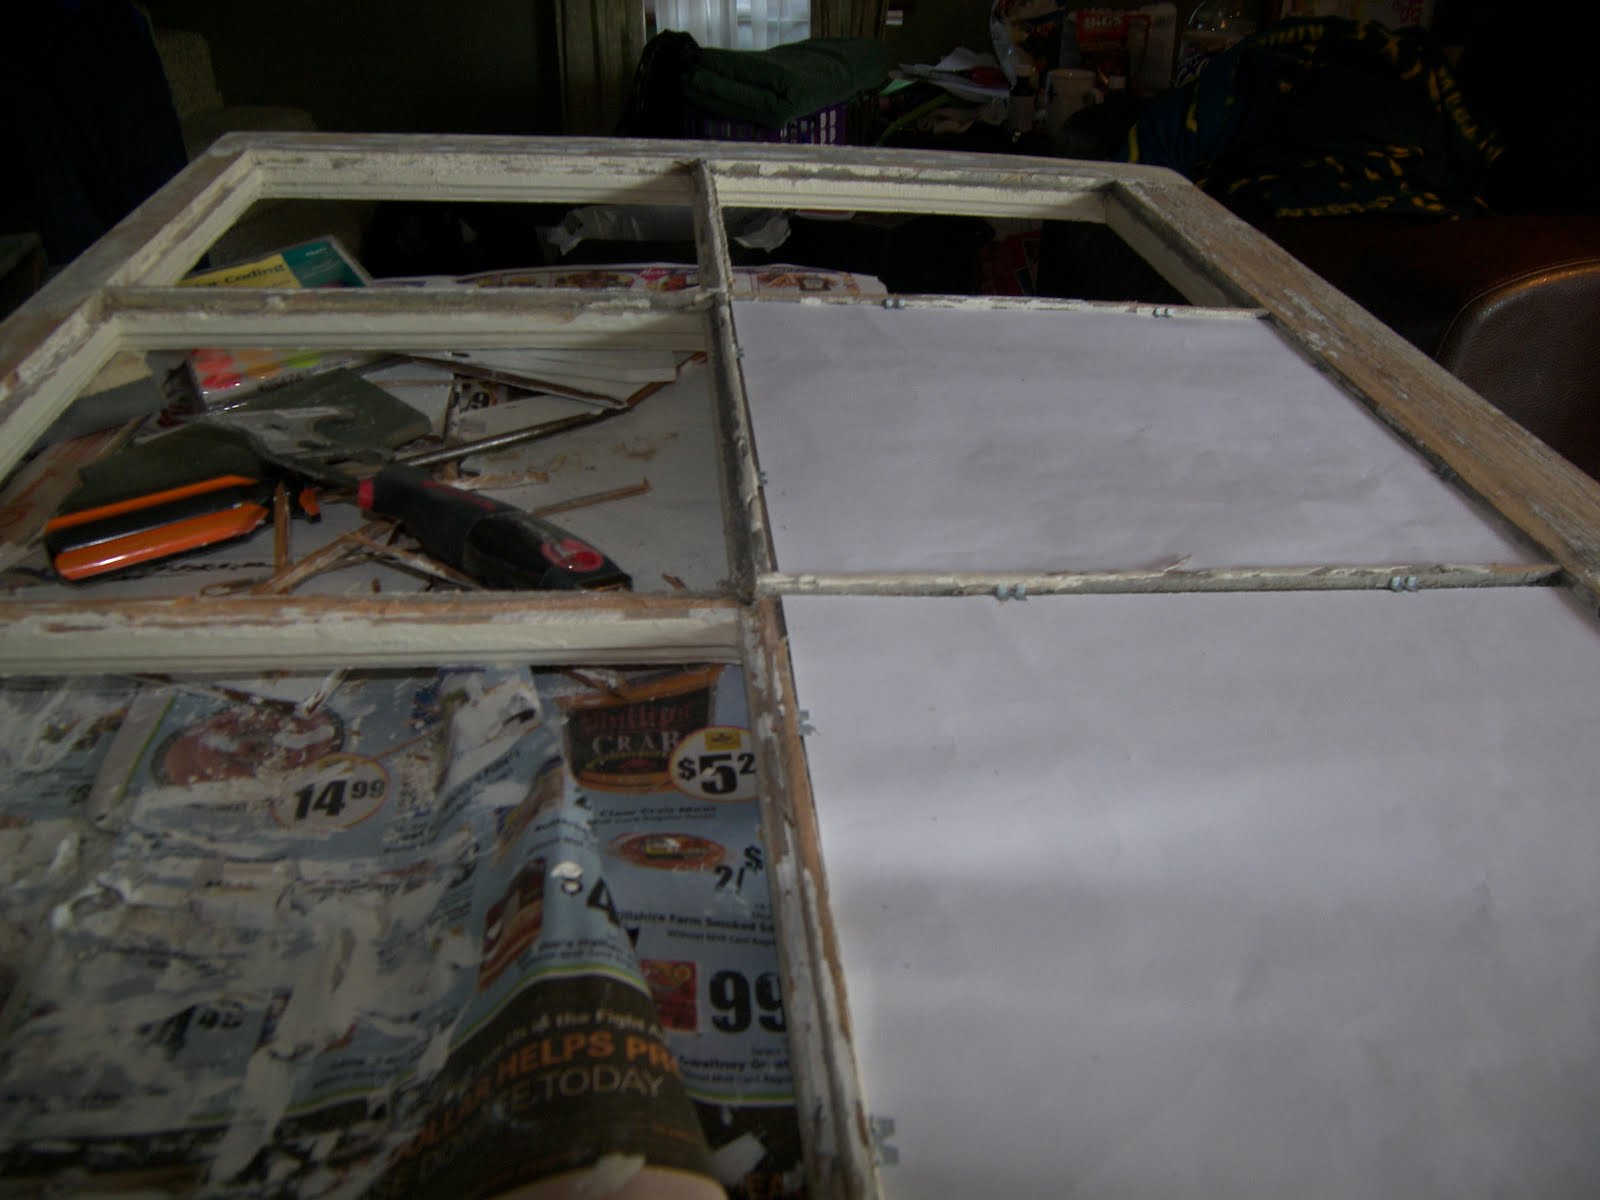
I then attached a piece of chip board to the cork using Mod Podge. There has to be an easier way as I found this very messy. But, it worked!
Magnet Board
Almost daily, I check out a website (yes, other than Southern Fried Gal’s) by a fellow blogger called Greenbean’s Crafterole. Recently, she had a post about some small boards that she makes out of galvanized flashing. Well, I went out and bought a roll at my local Home Depot and it only cost me $8.48 for a 10″ x 10′ roll. So, I cut out some from that roll and covered with some scrap paper. I used fleur de lis as the hanger that I attached also had a fleur de lis on it (plus, it is one of my favorite things).
Lastly, I attached my key holder to the bottom (really the side, as I turned it to make it fit best) of the window. I keep my Bed Bath & Beyond Coupons as well as take out menus there. Plus, I have always found that it is so much easier to find my keys if I have a designated place to put them. It took me a while to get used to hanging them up, but wow, I would be lost without it now.
I forgot to mention that I used glazing points to hold all items into the individual window panes.
So, there you have it! That is all it took to create this great family message board:
I hope you enjoy it as much as I do and I would love to have you visit me at The Crafter’s Window. Thank you so much Southern Fried Gal for having me over for the day.
Thank you, Nancy, for sharing this cute project with us. I love all those vintage windows you have and can’t wait to see what other fun you have with them. We’ll definitely have to have you back to share another project.
~Southern Fried Gal


May 5, 2011
I am your newest follower!
I have just awarded you with the Versatile Blogger Award! I hope you can come by and accept it!
May 18, 2011
40 windows! I’m so jealous! What a find!
August 24, 2011
You got lucky with the windows! You got them for free! We once had some broken window, I just don’t know where my hubby put them. Arrgghh! Wish I could still find ‘em. =(
Katie Nicoll
June 21, 2012
Pretty good post. I just stumbled upon your blog and wanted to say that I have really enjoyed reading your blog posts.
February 7, 2013
I really love DIY window projects! At first, I was just recycling our old windows, but now, as a hobby and with lots of ideas, I ended up collecting old windows in our neighborhood. This is really a must-try activity!
March 6, 2013
Having DIY projects can be both used for fun and for profit. I also designed some vintage windows here at home and displayed them at my office. I was kinda shocked when some of my clients wanted to buy some pieces! Luckily, I sold a lot of my vintage windows, and I’m glad my income consequently increased.
– Kermit Lukacs