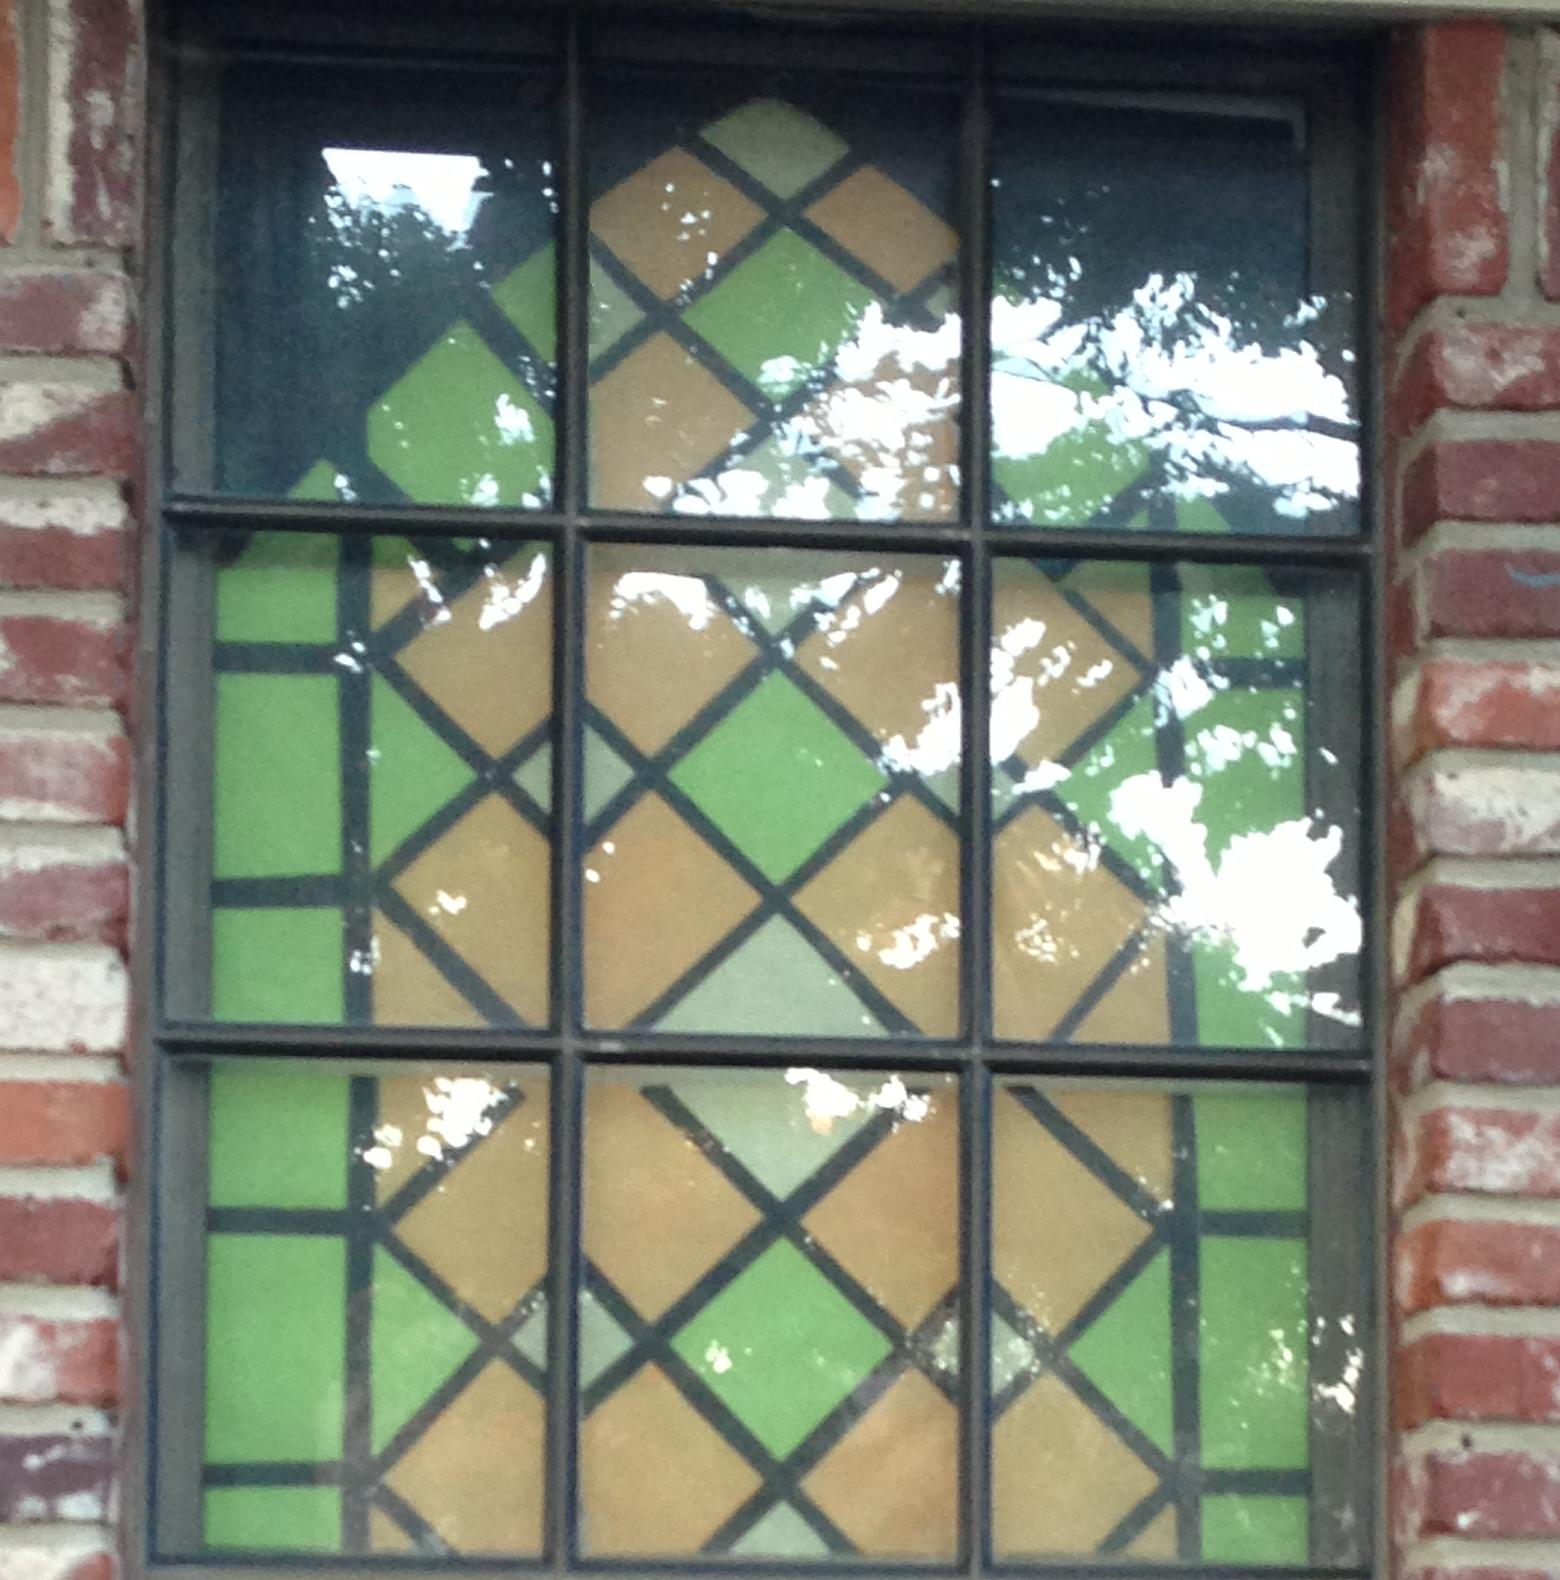
I love how the faux stained glass windows turned out for our Hotel Transylvania Halloween decor. In fact it makes me a little sad that they will be coming down later this week. I think this project could translate across other holidays (crosses would be pretty at Easter as an example). This would be a cute craft for the kiddos to keep them busy, to exercise their creativity and to add a cheery pop of color to any window on a cold, snowy day.
Here’s how I created this look…
For this project you need:
- roll of clear contact paper
- tissue paper
- black construction paper
- colored tissue paper
- scissors
Because I have several window panes, I decided it would be easier for me to work on one pane at a time. You could do bigger sheets if so desired.
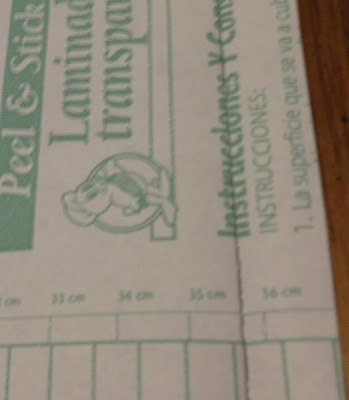
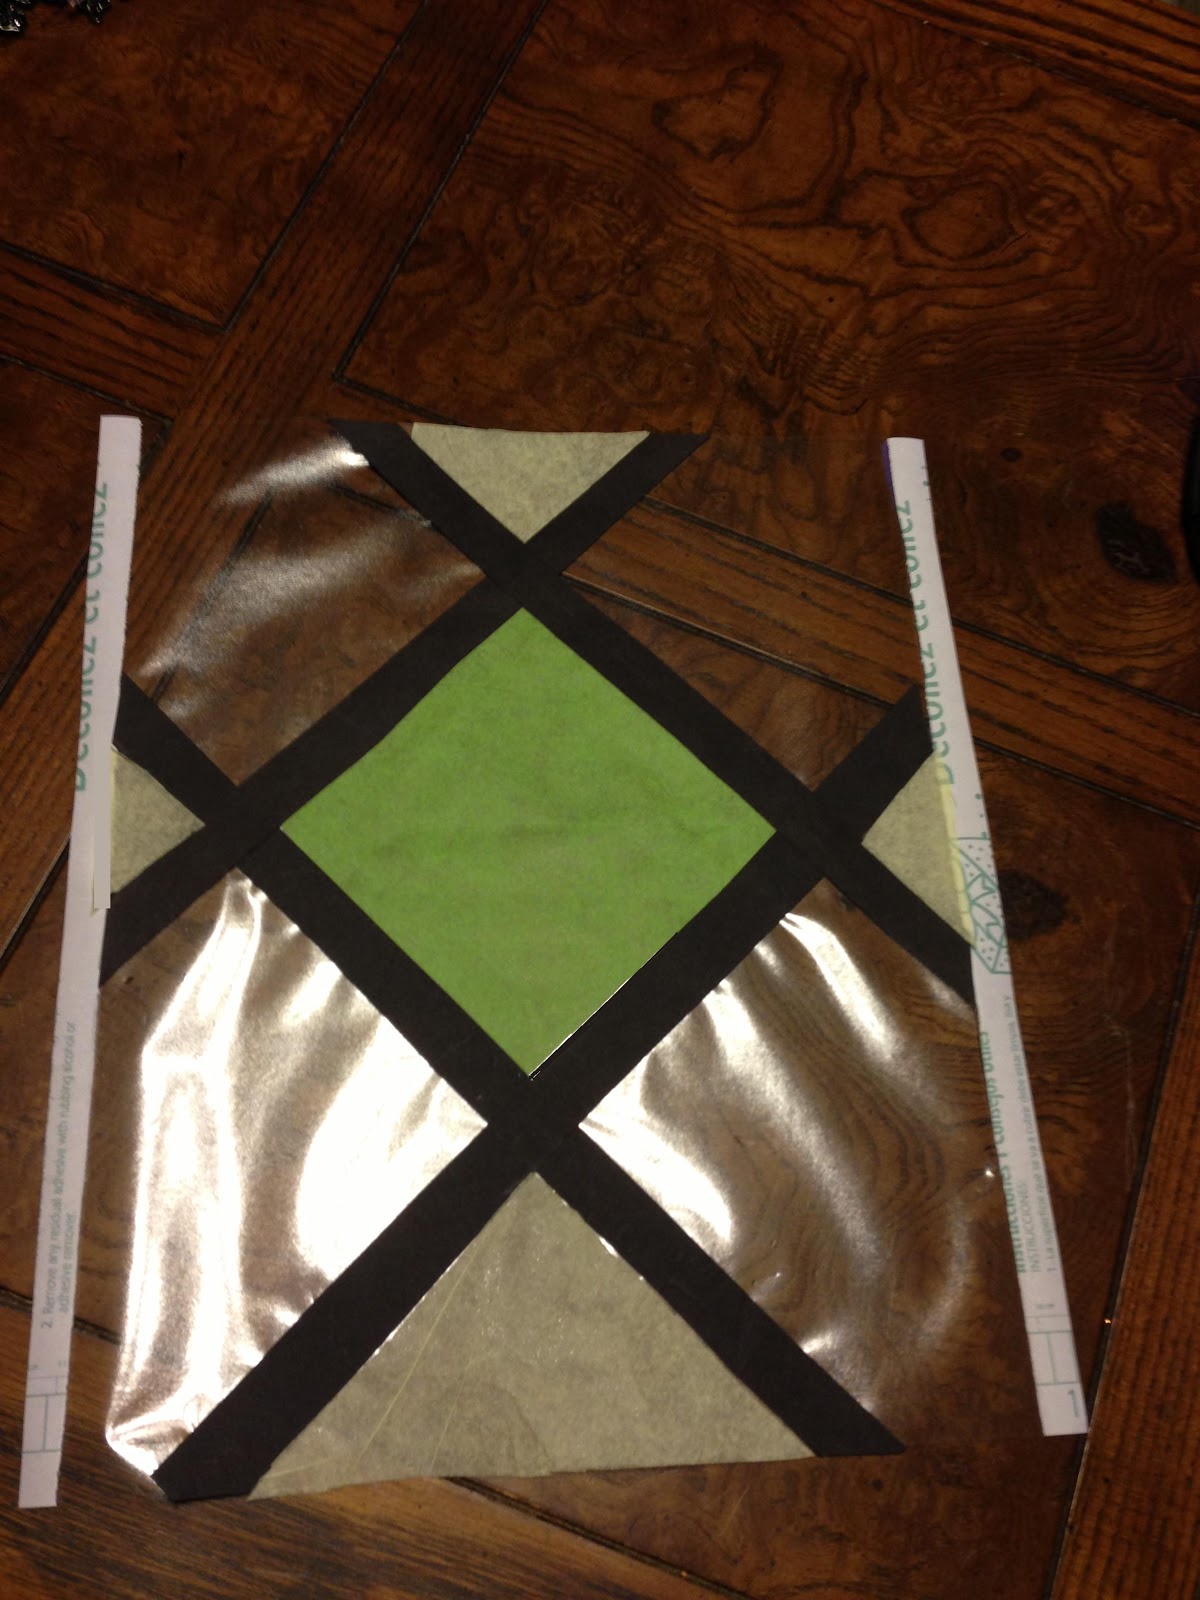
I started with a large roll of clear contact paper. I measured a little over the width of each pane to allow room to adhere each to the frames. I then scored the edges of the paper side (see photo) without penetrating the contact paper. From there I removed the paper from the center section and left the paper on the edges in tact (see image below with sticky center and paper sides).
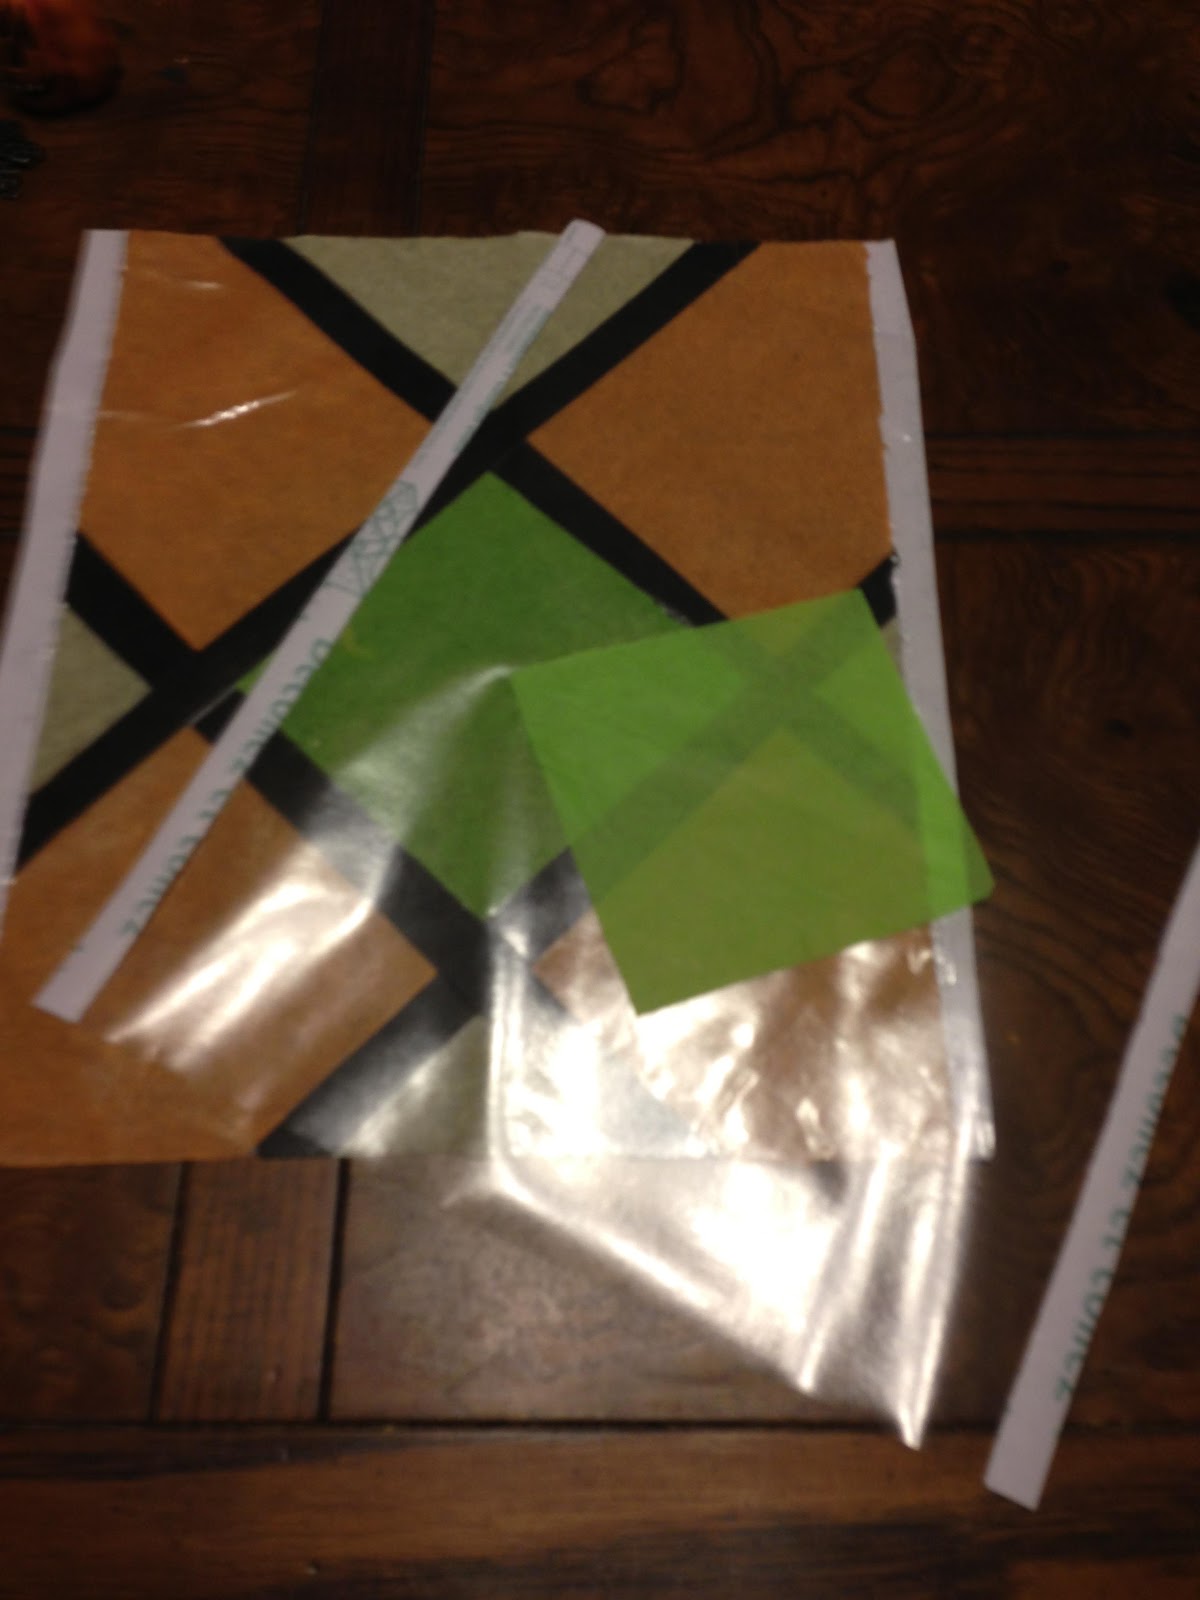
I used the tissue paper and construction paper to create the stained glass design. I didn’t do any formal measuring when cutting the shapes. This project is pretty forgiving (and I’m a recovering perfectionist).
After I determined my design, I used the first completed one as the pattern for the others in an effort to keep them as close to the same as possible. In other words, I put the non-sticky side over the completed pattern, lined up the edges and then used that as a guide to put the center green diamond.
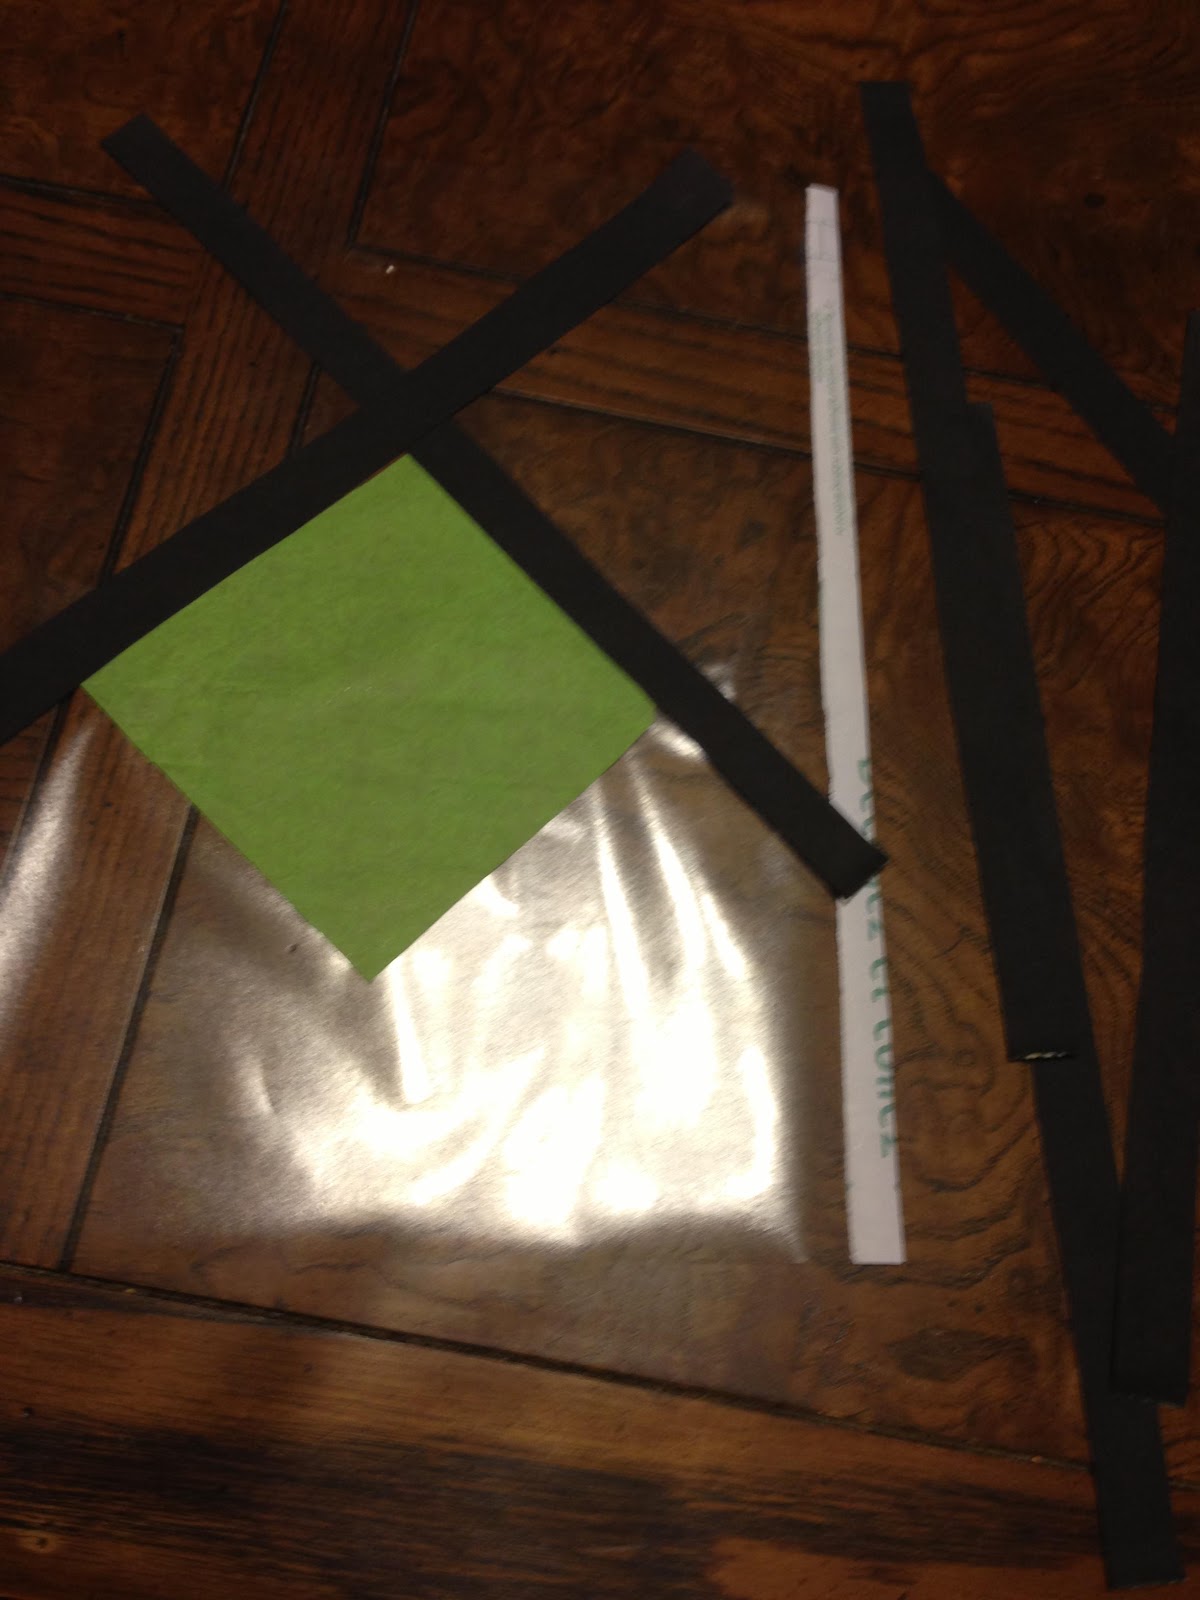
From there I used cut pieces of black construction paper to frame the design.
I filled in the smaller yellow pieces on the edges (see my trick below for trimming the edges).
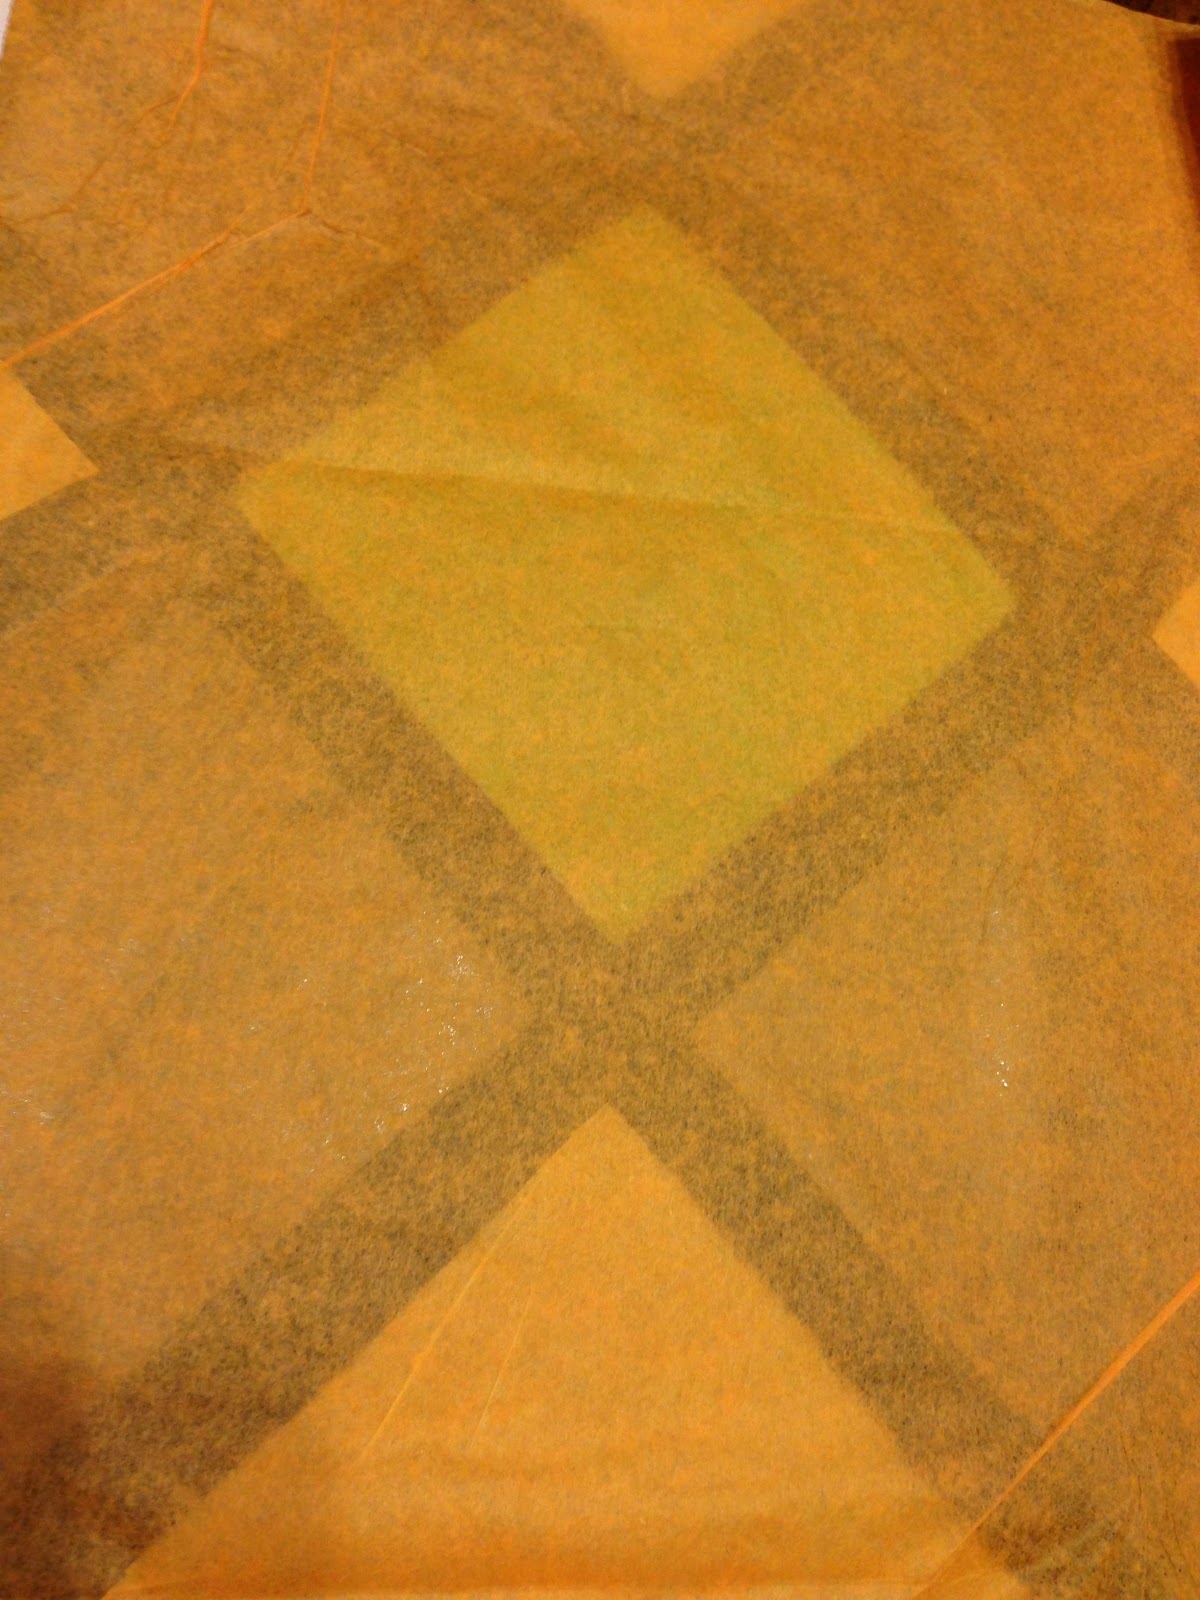
Then I covered the entire panel with the color used most in the design.

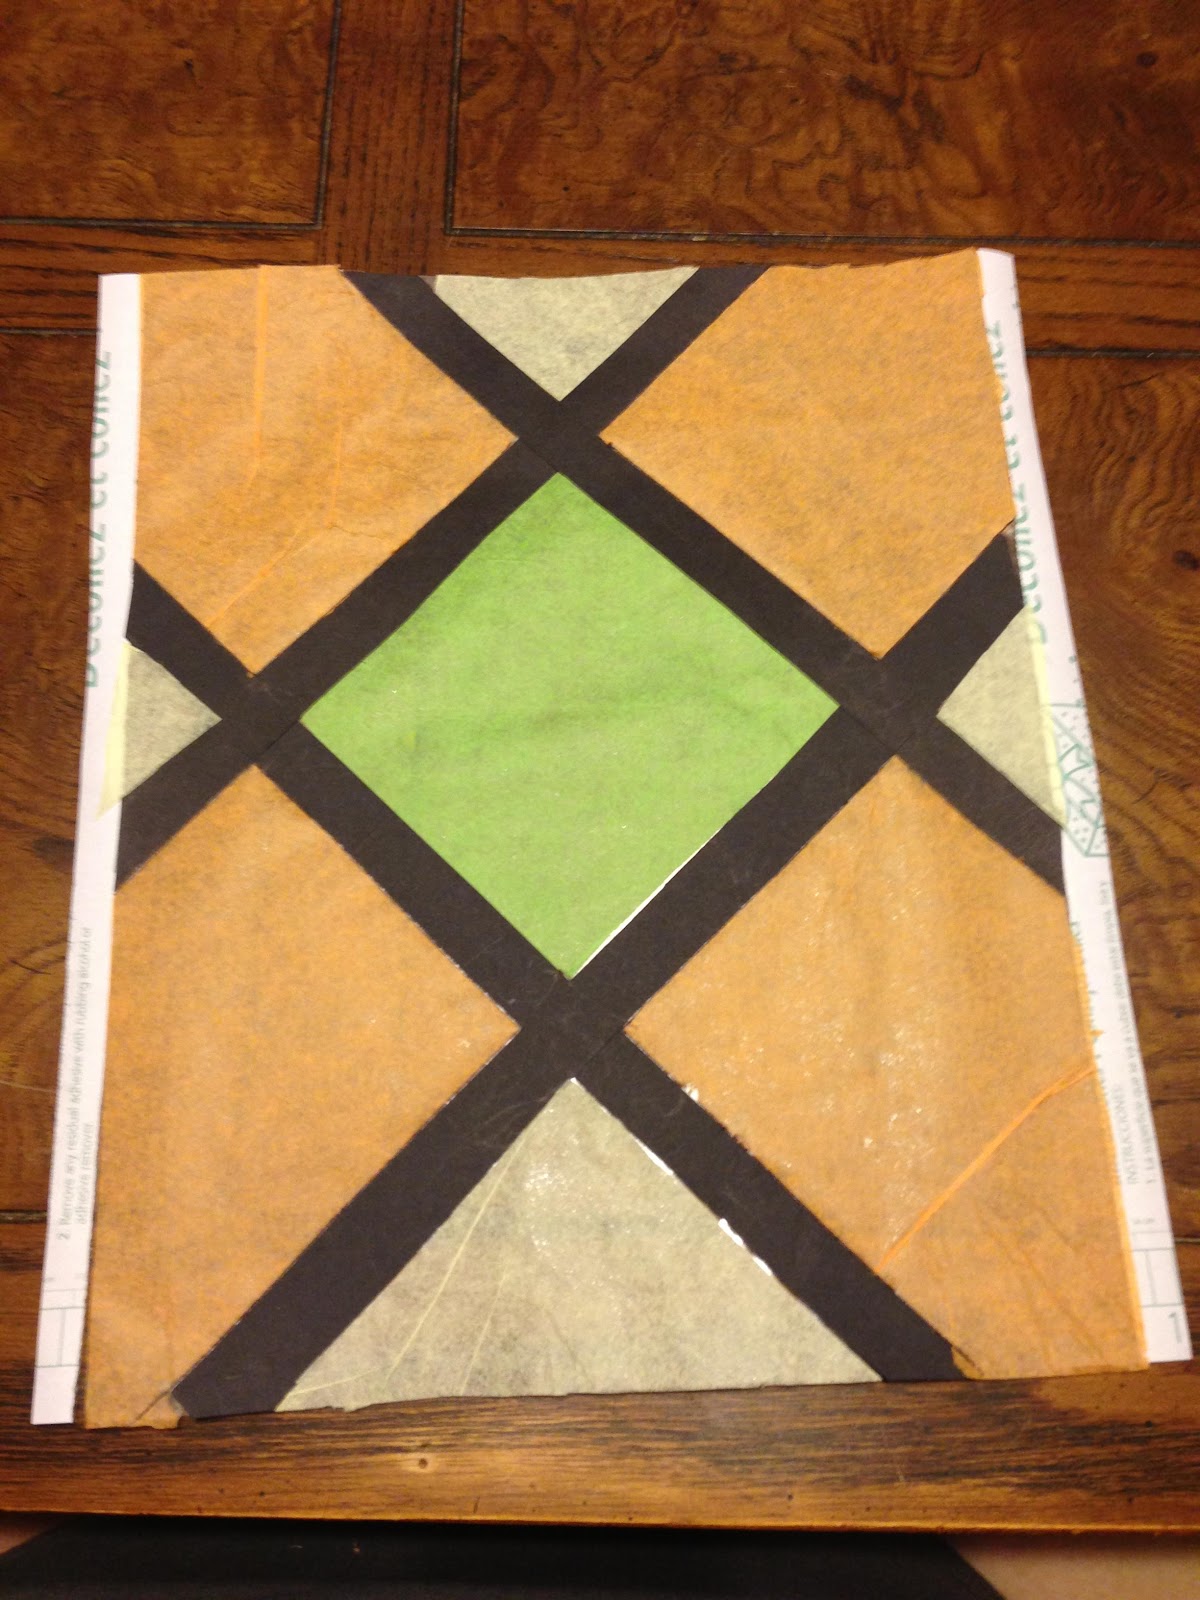
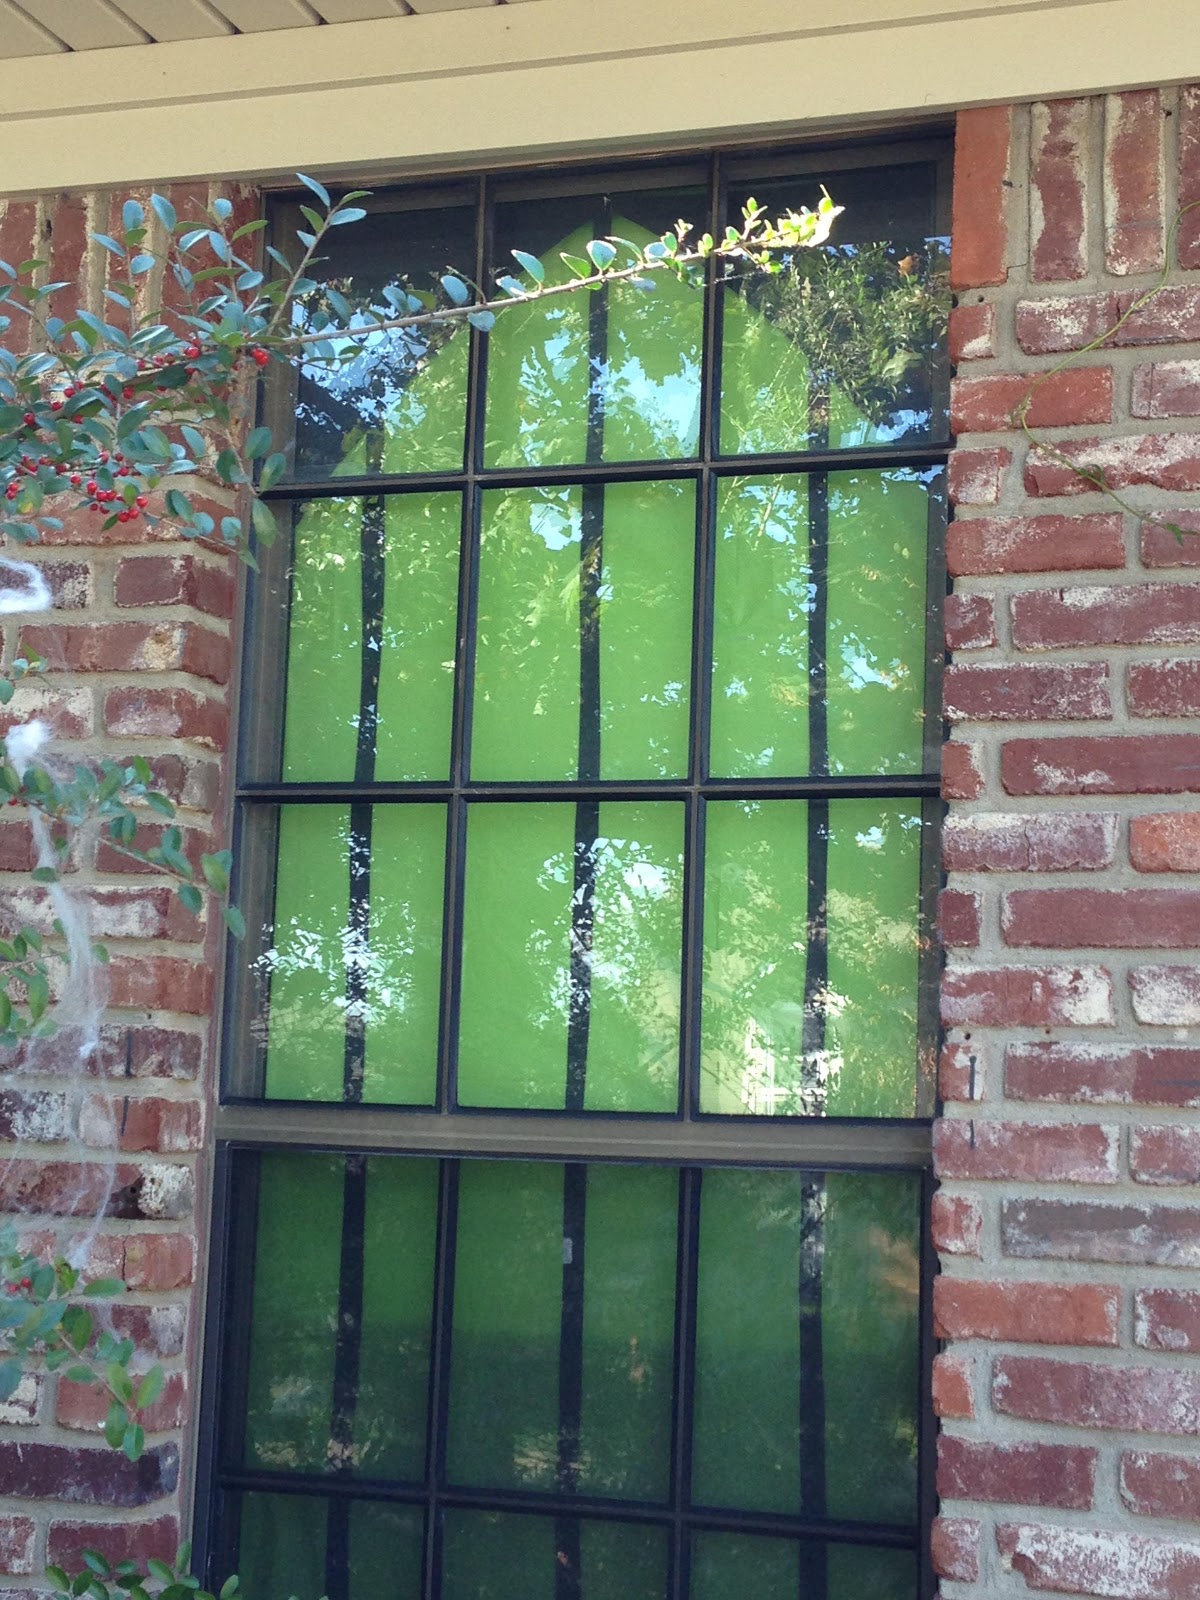
And here’s one finished pane. I will say it was very tedious when I first started making these because I was trying to measure and be precise. After making a couple more I finally got into a groove using these tricks. It went fairly quick after that and was kind of therapeutic. As an added bonus: since I created the panes using contact paper, they are preserved for future use if I so desire.
You can see the final piece is in no way perfect – the tissue paper isn’t exactly lined up with the construction paper and there are wrinkles in the tissue paper. Trust me, it’s OK! Perfectionism is not your friend.
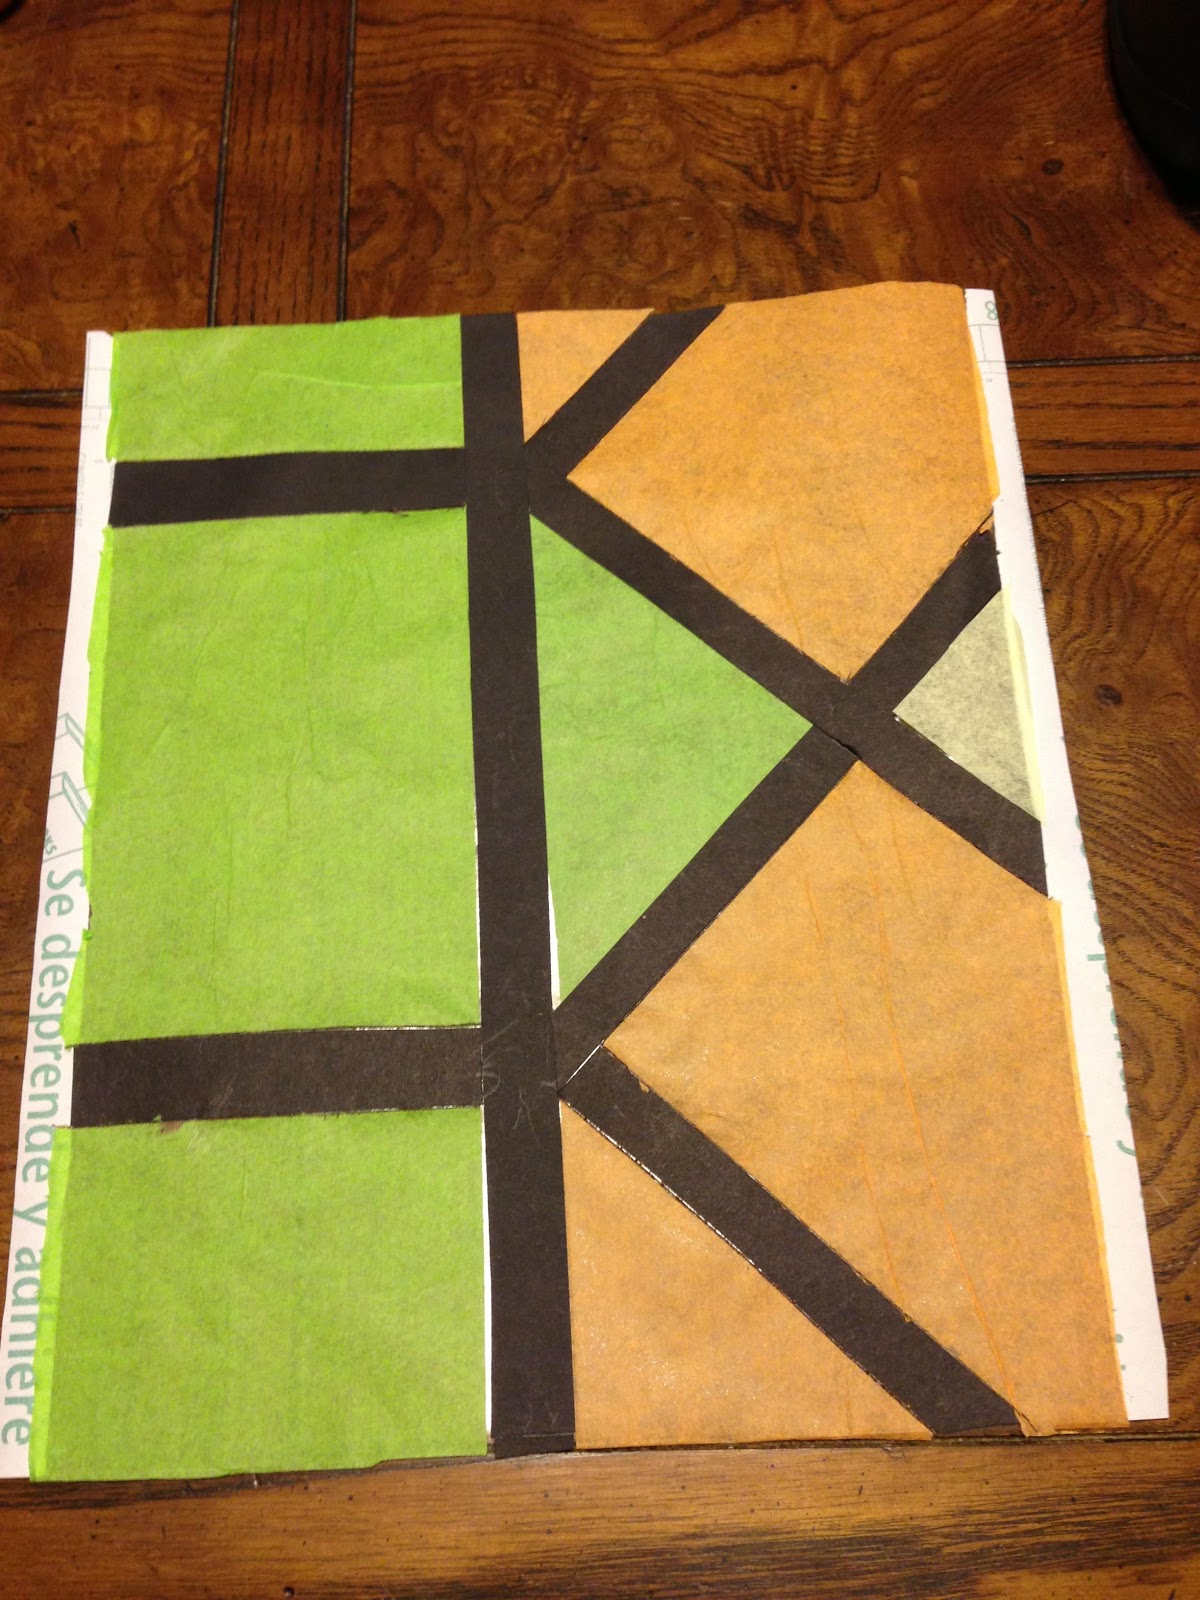
The previous pattern was used in the center panes of the window. The above pattern is used on the sides. You (or the kiddos) can make your design as complex or simple as you like.
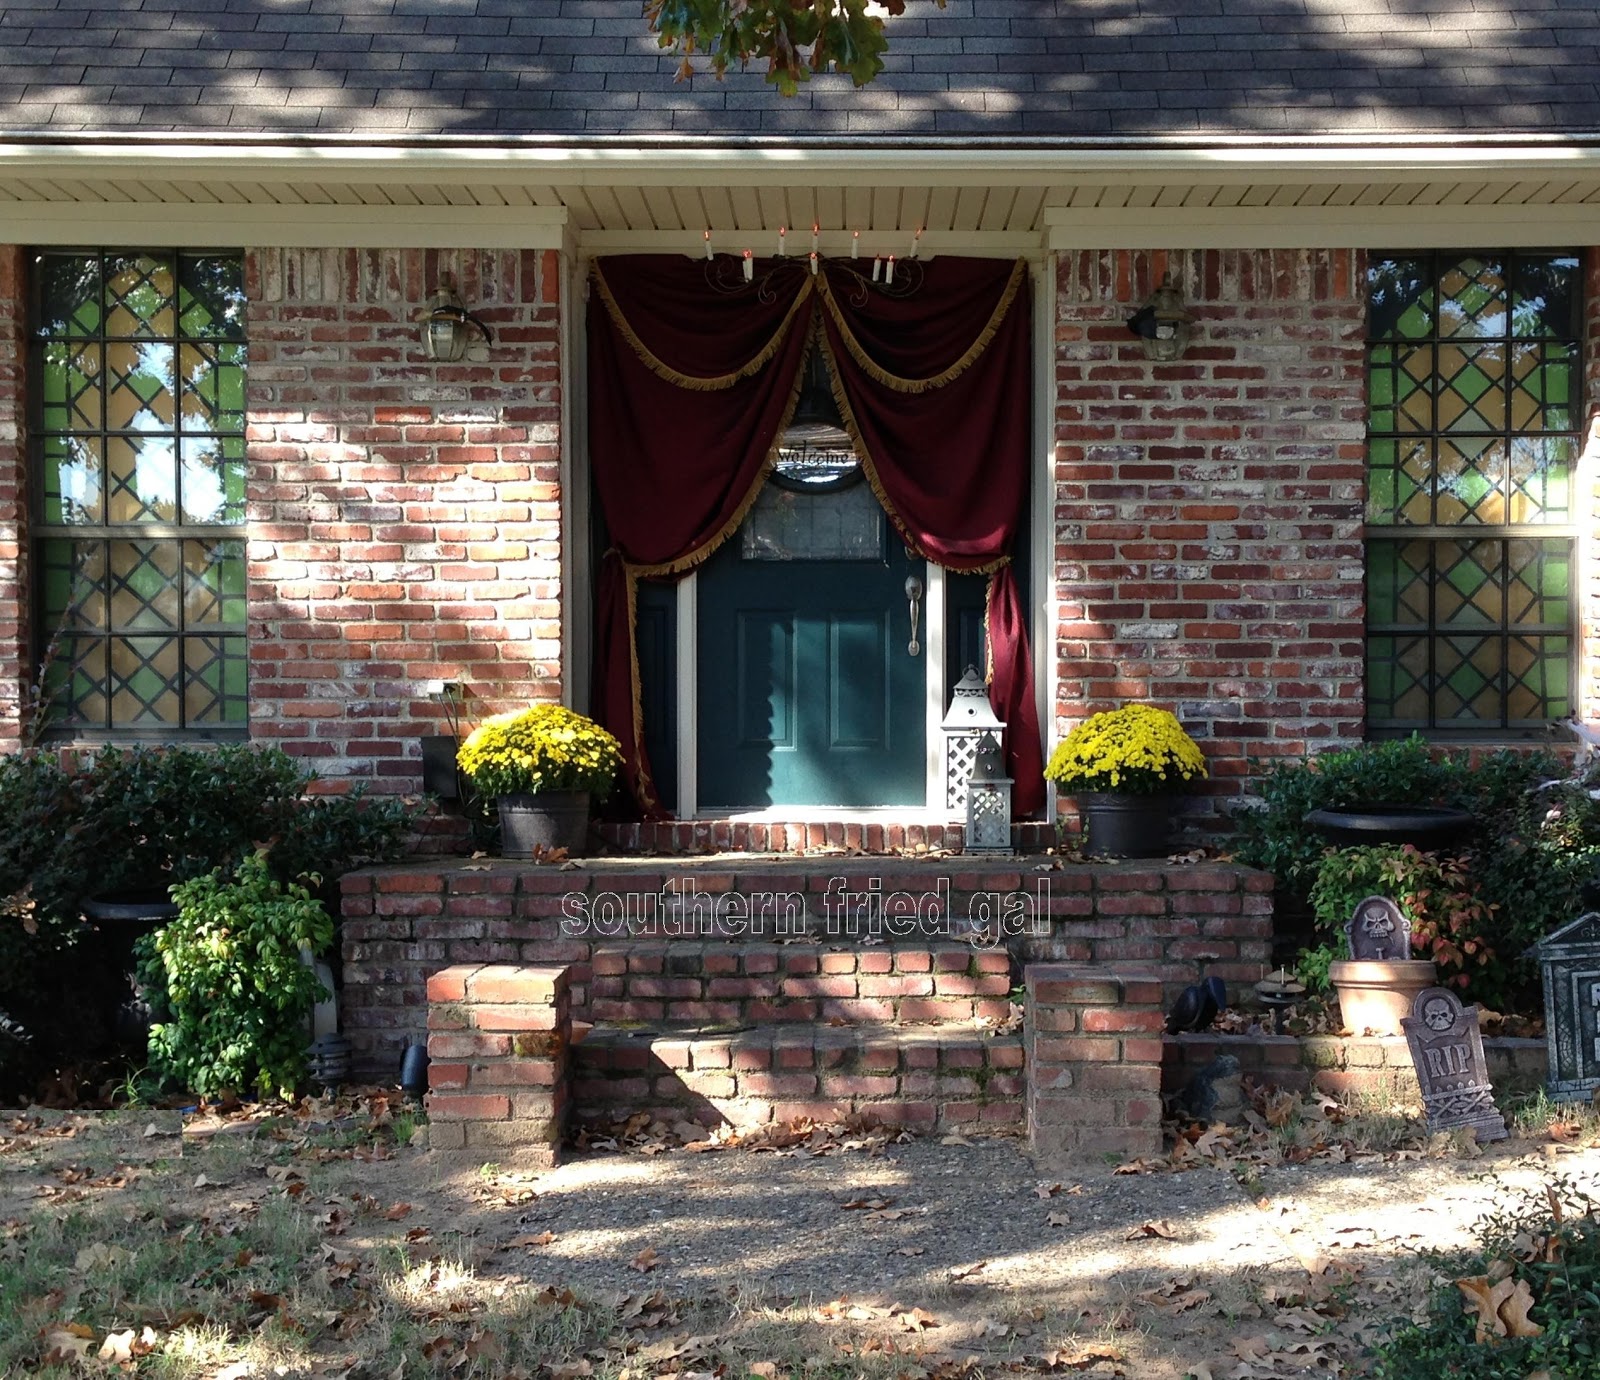
And here’s another look at our “stained glass” windows in conjunction with our Halloween Door. Would you ever guess these were made from contact paper, tissue paper and construction paper? Pretty cool, eh?
I will admit the project took a bit of time to complete even for me. A lot of the time and tediousness was coming up with the details of the best way to do it. Hopefully my pain and this post will benefit anyone wanting to give it a try.
As a test, I did another window using a much simpler technique. Basically I cut strips of black poster board and taped to the windows. I added the same cathedral topper. Then I taped whole sheets of tissue paper over that. This is a cute look as well with much less time invested.
If this post inspires you to create something, please share pictures!
~Southern Fried Gal


November 9, 2012
What a great project! The window turned out looking so pretty!!
November 10, 2012
Great tutorial, love that it can be reused for future Halloweens. Your instructions are very clear and concise, which is a real treat!
November 13, 2012
It appears so surreal!! I’m in love with simple DIY, I never knew you could transform such a boring piece of glass to an artsy display so simply. Very well done!
-Solomon Berkovitch
January 15, 2013
Perfect! Now you have the privacy that you need and beautiful windows that you love at the same time. Thanks for sharing this easy but unique window treatment idea. I’m gonna try this one too! :]
January 23, 2013
Then maybe it’s time to design a faux stained glass picture that would be good all-year round. You wouldn’t have to use curtains, which can be inconvenient at times. But you can still get to protect your privacy, just in a more stylish way. How about it?
April 3, 2013
Hello! You have a very nice blog! I invite you to visit my blog and / or follow you, hope you like it frosted glass Greetings and … congratulations!