
BBC’s teacher asked her class to create Valentine boxes instead of using paper sacks this year. A project with the boy is always fun. Of course BBC wanted a Green Ninja (from the Lego Ninjago series) themed box. He was very specific about the uniform he wanted for the box.

DH suggested we just pick up ninja stickers and do a collage. That was just silly-talk to this crafty mom. I had an idea in my head of what the box should look like. I tried to explain it but that didn’t translate. I sketched it out on the box to help share the vision. DH thought the project was a bit too ambitious. That was just the challenge I needed.
In addition to the TOMS shoe box and two empty toilet paper rolls, here are the supplies used to craft the box:
- green scrapbook paper (3 – 12 x 12 sheets)
- metallic gold scrapbook paper (3 – 8.5 x 11 sheets)
- green foam (1 – 8.5 x 11 sheet)
- yellow foam (1 – 8.5 x 11 sheet)
- black foam (2 – 12 x 18 sheets)
- black sharpie
- gold sharpie
- double-sided tape
- glue

Using double-sided tape along the edges, I covered the box in green paper. Then I added black foam to the lower front of the box to create the base of the uniform. The head was crafted from the green foam, a piece of yellow foam attached with tape and eyes drawn using the black sharpie. The gold accent was cut from paper, creased to create a molded affect and attached using double-sided tape as well. I did not attach the head to the box at this point because I needed to piece together the armor before doing so.
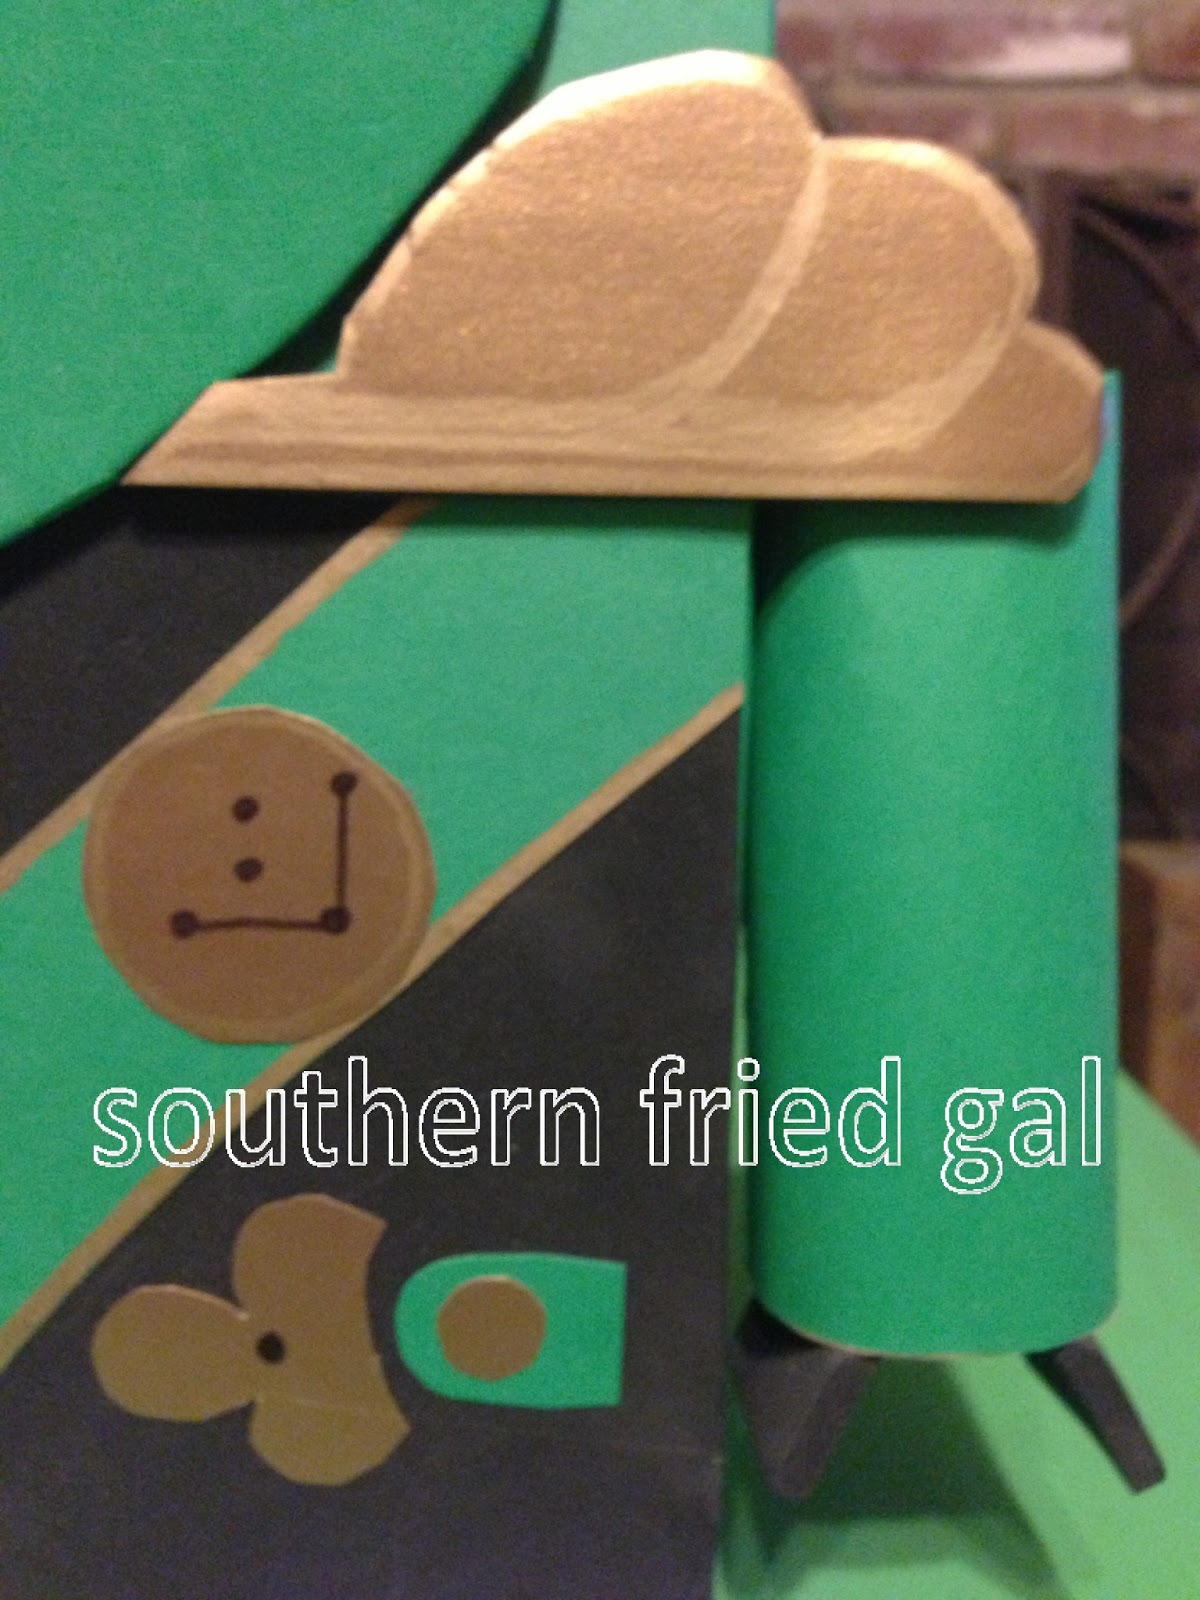
Next I traced and cut out the uniform embellishments from the green and gold papers, attached to the black foam using tape and added details with the black and gold sharpies. I pieced out the the shoulder armor using a combination of black foam with gold paper (attached with tape). The foam gave these pieces more visual weight. The gold sharpie was perfect to add tone on tone details to the armor. Since the head and shoulder pieces extended beyond the box dimensions, I attached those to the box using the glue gun for more durability.
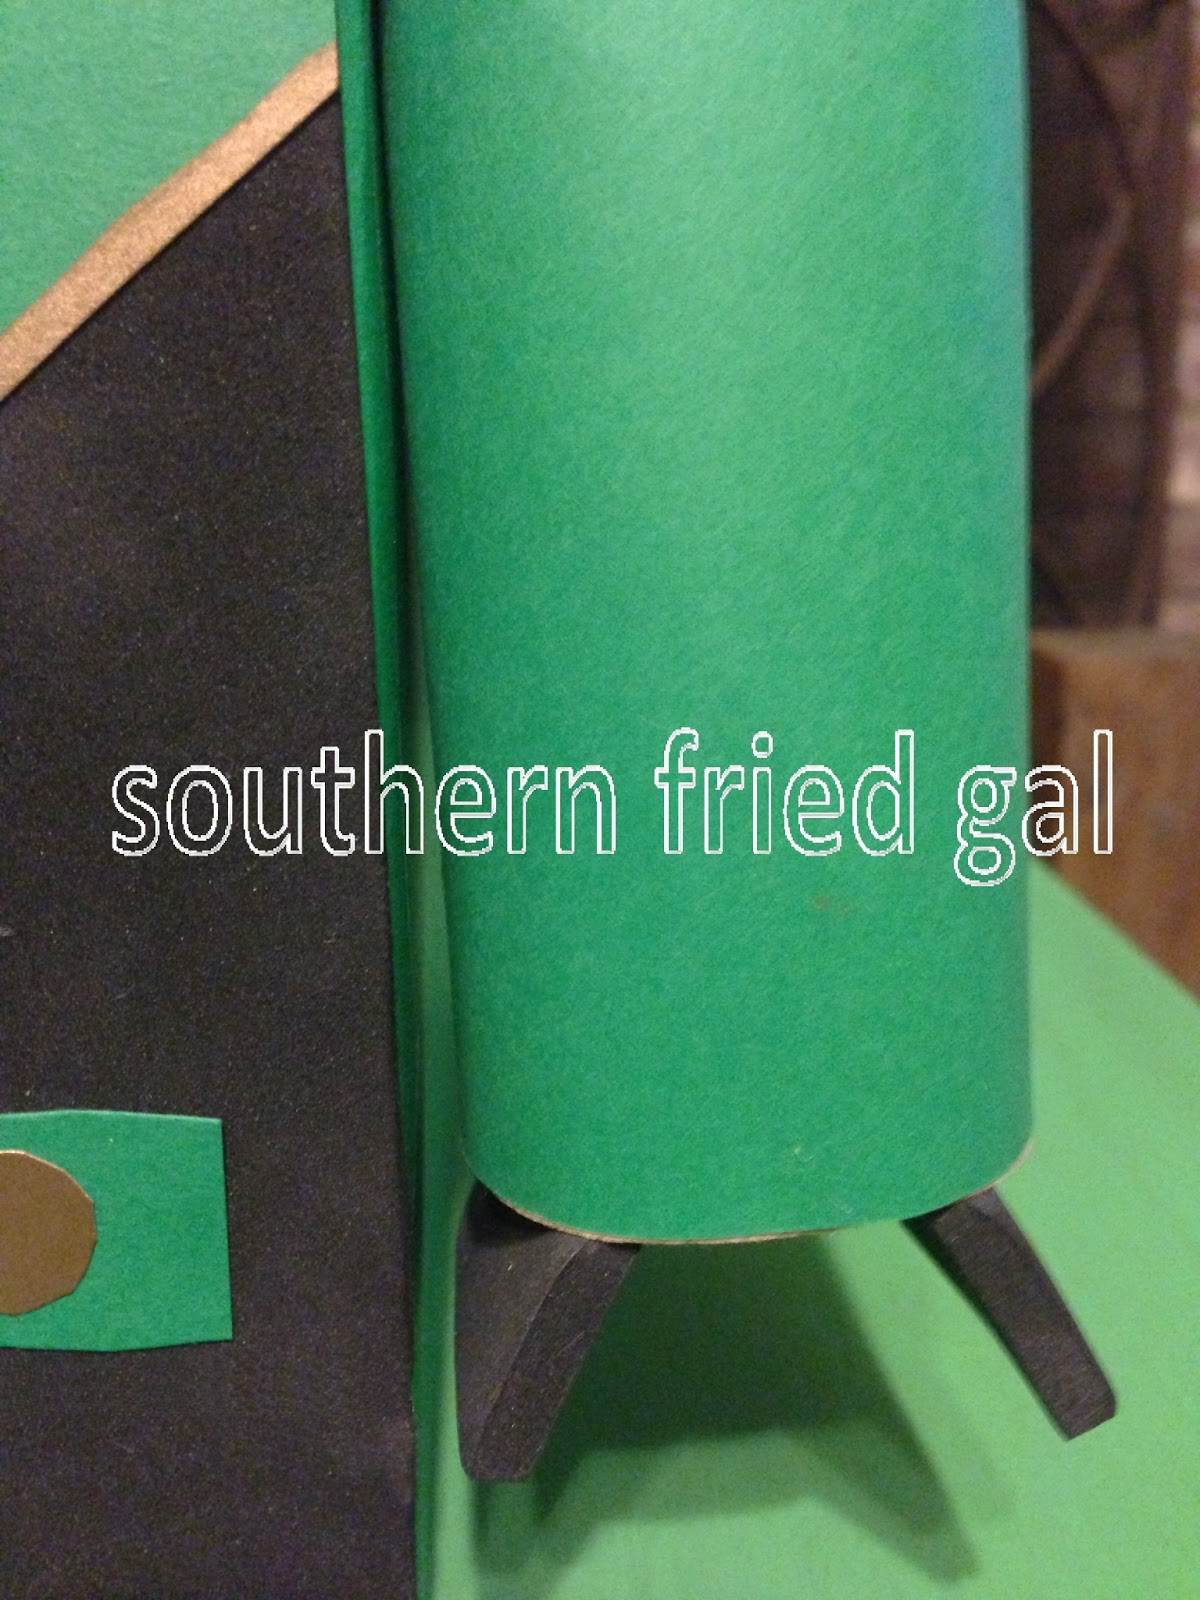
The arms are simply green paper wrapped around toilet paper rolls and secured with tape. The hands are rectangles of black foam attached to the inside of the arms using hot glue. The arms were attached to both the shoulder armor and the side of the box using hot glue.

The swords on the back of the box added depth and are a must-have for any ninja worth his weight. They were cut from black foam with gold paper wrapped around the handles and gold sharpie details. These were attached with hot glue as well.
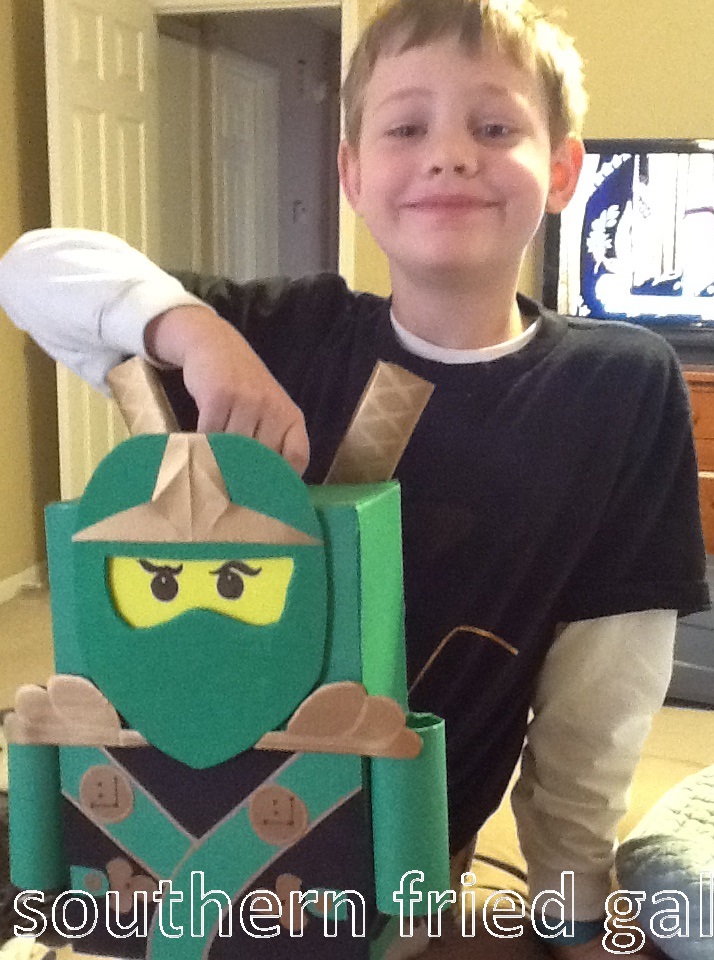
The project took a little longer than I anticipated but turned out better than I had planned. I wrapped up around midnight so I had to wait until morning to show BBC. That was pure torture but his reaction was worth the wait and loss of sleep. It was kind of cool to impress DH as well.
~Southern Fried Gal


February 25, 2013
Oh my gracious! That looks amazing! I am so impressed with you. I have to admit that I haven’t missed making those Valentine’s boxes AT ALL the past two years!
January 20, 2014
AMAZING!!! I LOVE it!! My 7 year old is a huge Green Ninja fan and this will be most perfect!!! Thanks for sharing!!
February 4, 2014
We are making this today! My son has NEVER been so excited for Valentine’s Day
Thank you so much for all the pictures and list of supplies! That is super helpful.
You did an amazing job designing and putting this together – your husband should be very impressed!
February 12, 2014
Thank you so much for sharing! Just finished my box (my son opted for a blue ninja instead). Nonetheless, it came out amazing and he is super excited to take it to school! Thanks for sharing your tips and pictures, it truly made my job that much easier!
March 27, 2014
Yay! That makes me happy, Ruby! Thank you for your feedback. I would love to see a picture of your project. Thanks!
February 12, 2014
I’m making this for my son and i was wondering, how did you get the Valentine’s out of the box?
March 27, 2014
Hello! I made the opening large enough to dump out the contents. I would love to see a picture of your project! Thanks.